
SO, I have been trying to practice what I learned in the photography workshop (here’s the link to part 1 of the food photography workshop), but I will be honest, its been hard trying to concentrate on photography with the kids around 24/7. I’m not complaining at all, I’m actually loving and savoring having them around, it’s just that I can’t concentrate or really work on the blog as much as I would like (hello, mothers guilt). Ramping up my food photography is definitely on my to-do list this fall when the kids are back in school and a routine is set (Oh, how I love routine).
I really wanted to get out part 2 of what I learned at Denise’s food photography workshop, before I forget it all. Remember, these are my takes on photography and I’m not claiming to be an expert at all!
Below are some props that every food photographer needs; 2 white foam boards, 2 black foam boards, one handmade light diffuser called a scrim. The scrim really helps a lot on bright sunny days, because it diffuses bright, harsh light. You can make a scrim by cutting out a frame in a piece of cardboard and then taping some velum paper to the back, or you can even use some wax paper and tape it to the back. You could also use a white sheet in front of your widow to diffuse the light or some regular old white copy paper, basically whatever you have on hand and whatever your budget allows. I like the scrim frame below because its easy to move around and position where you want, and you don’t have to worry about taping a sheet or paper to the window each time. All of these items can be purchased at any art supply or craft store, and will set you back about $20 or so.

Below is my mini studio, and an example of how I set up my boards. I use my den most of the time, as it has the best light and is close to my kitchen. To make trekking back and forth easier, I use one of my rimmed baking sheets to carry my props and food to and from the kitchen. I just prop up the foam boards with something heavy behind them. You can also tape the two boards together in the back and they will just stand up on their own.

You can already see the difference the in the mood between the white and black boards. The white evokes a bright and happy daytime mood while the black is a bit moody and creates a night-time or rainy day feel.

Below is an example showing you where I typically set up the scrim. I will move the scrim around (up or down) depending on where the light source is hitting the food.

The white boards are great when there is not enough light, as white reflects light and helps to brighten up the food and the scene you are creating. You will want to place the white board on the opposite side of the light source. If you want more light or you just want to create a clean, crisp background, put the other white board behind the food as a backdrop.
Black boards absorb light, and are great to use on bright days, or just when you want to create a mood or showcase the colors in your dish. I find I’m more drawn to using the black boards, as the food and colors really stand out against the black backdrop.
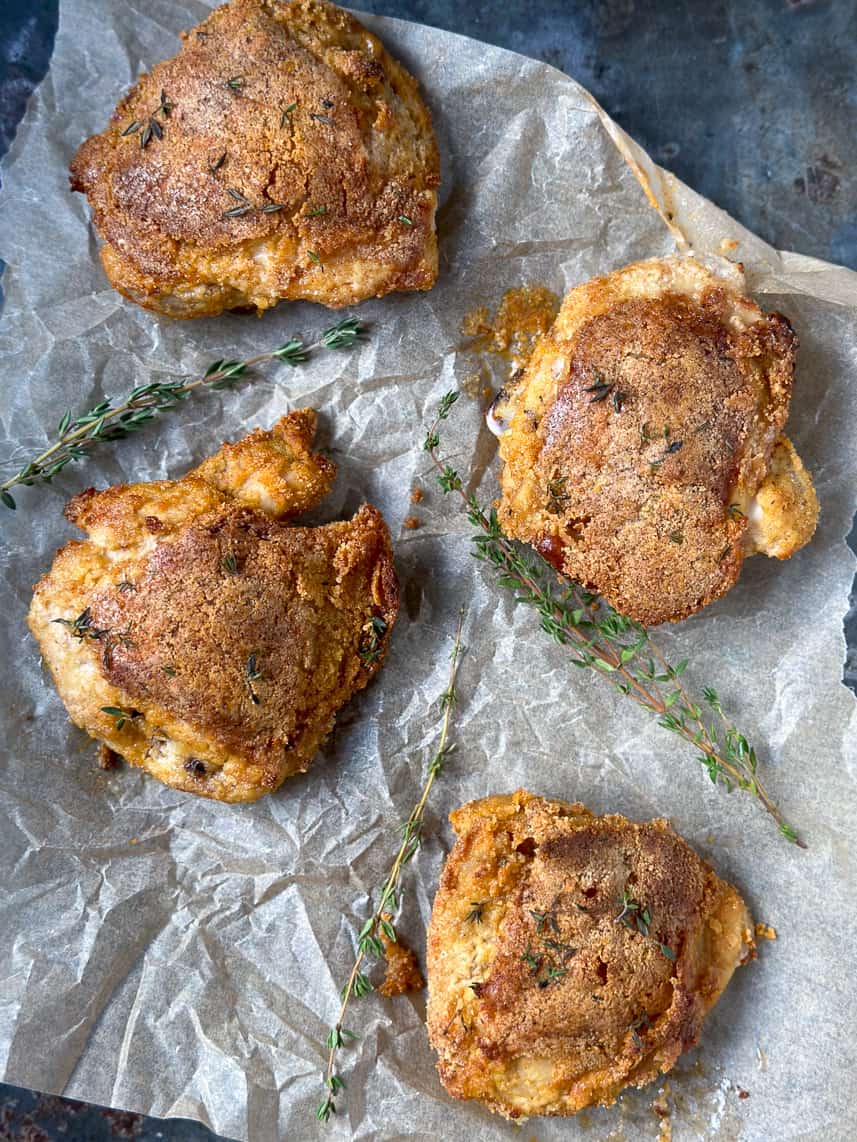
I’m showing you some contrasting examples below between the white and black boards.
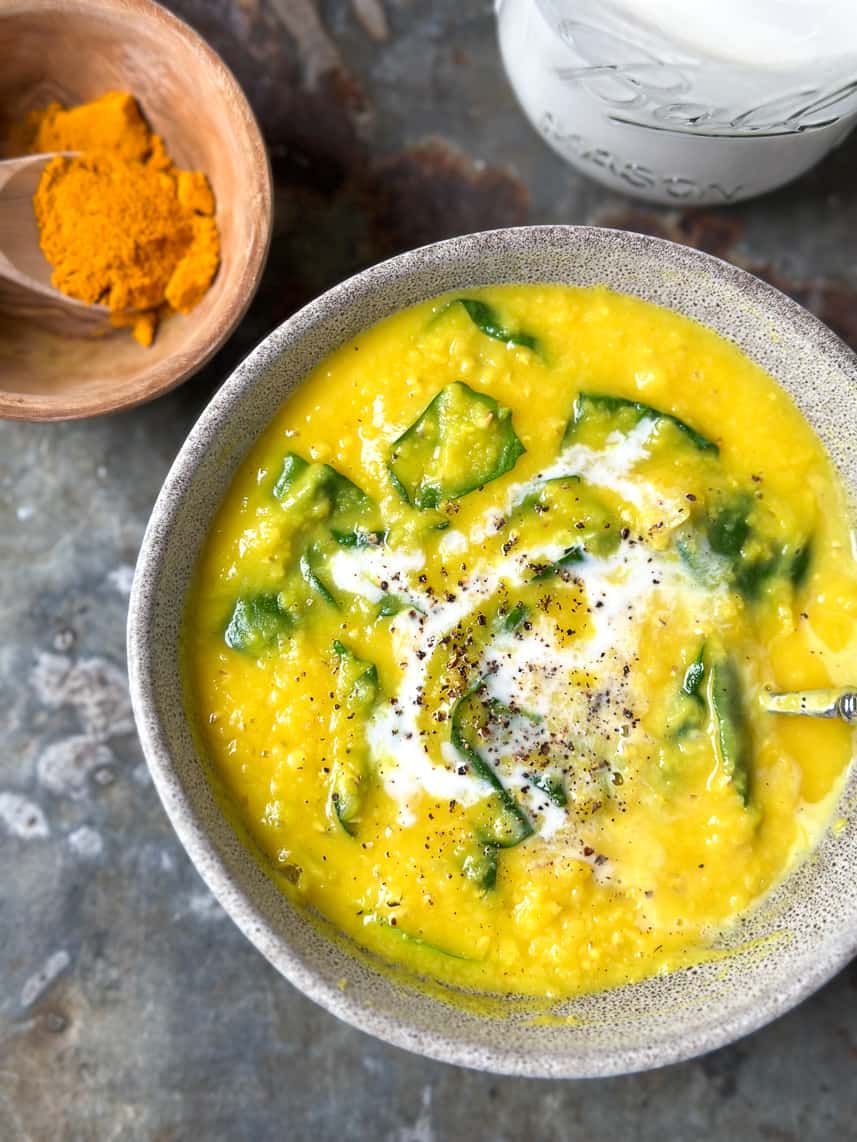
I like the look the white board gives the chicken curry below. It’s a summertime dish so the white background helps to set a fresh and bright sunny mood, like summer.


You can also see the difference in the pizza photos below. I used a white board and parchment paper to create a lunchtime feel for the photo below.

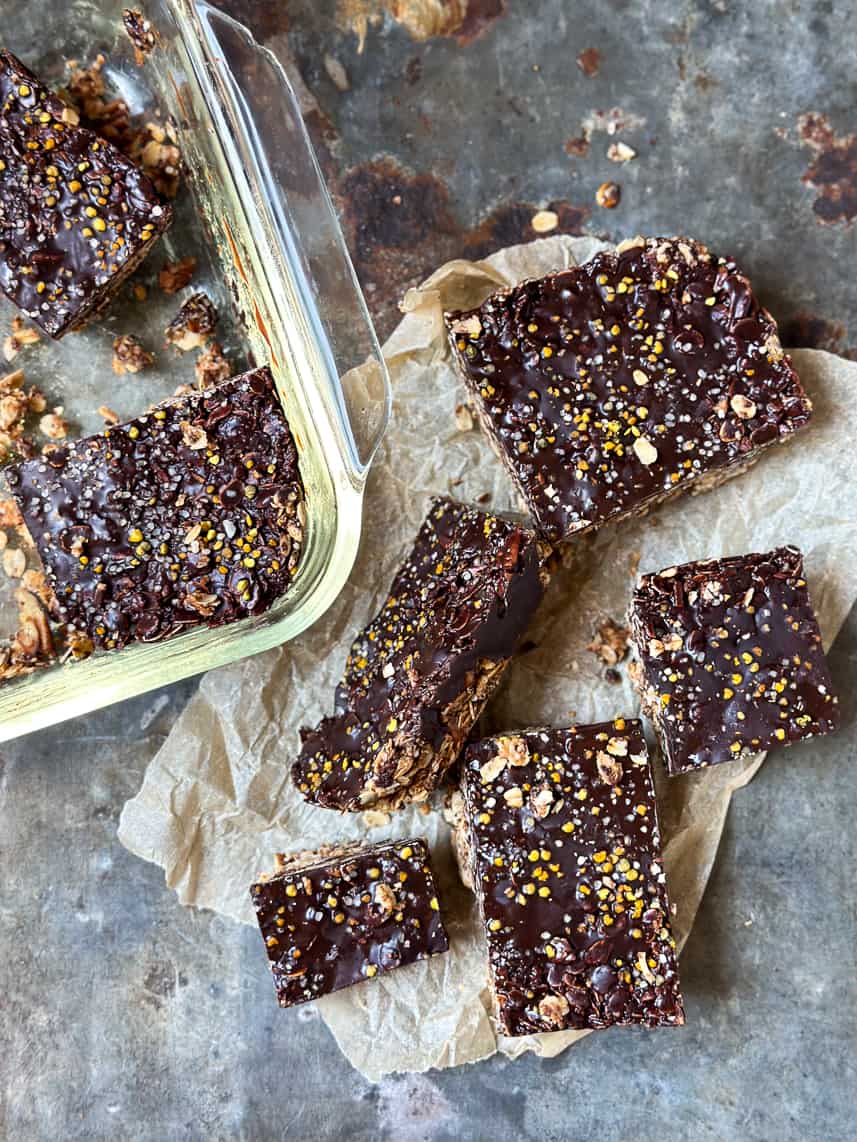
I used a baking sheet and black boards to create this mood below.
The black transforms this lunchtime pizza into a dinnertime or appetizer pizza.
I also think the pizza stands out more against the black.

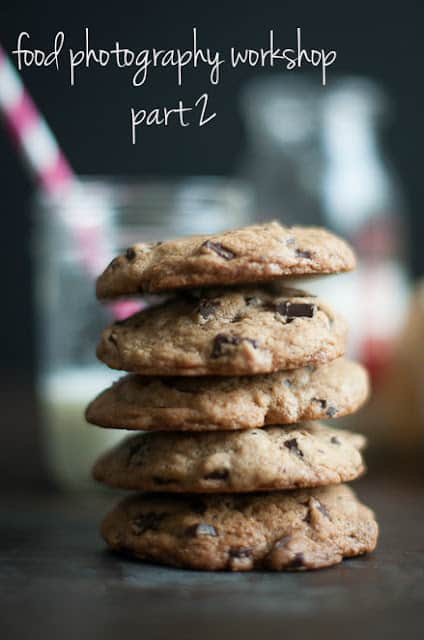
I took this photo below at the workshop. When I look at this photo, I think of a wintery or rainy afternoon, and that I’m setting out a tray of cookies to enjoy with a nice glass of tea or coffee.

Ok, so onto the one piece of equipment that I’m so excited to use come wintertime. I want you to take a look at the photo below and tell me if you think it was taken in the day or at night?

It was taken in the day, but it was in a dark room. Isn’t it amazing? This photo below shows you how dark the room was. All we had for light was this Lowel fluorescent light unit. I’m so excited for winter photography, because I can finally take some decent dinner photos with this light. This light is great for those times when there is no natural light available (like in the winter anytime after 5:00). I know most food bloggers are not fans of using artificial light, but I cook for my family, and I only photograph what we are actually eating. We don’t eat dinner at 2:00 in the afternoon, so this light is going to be a major help.

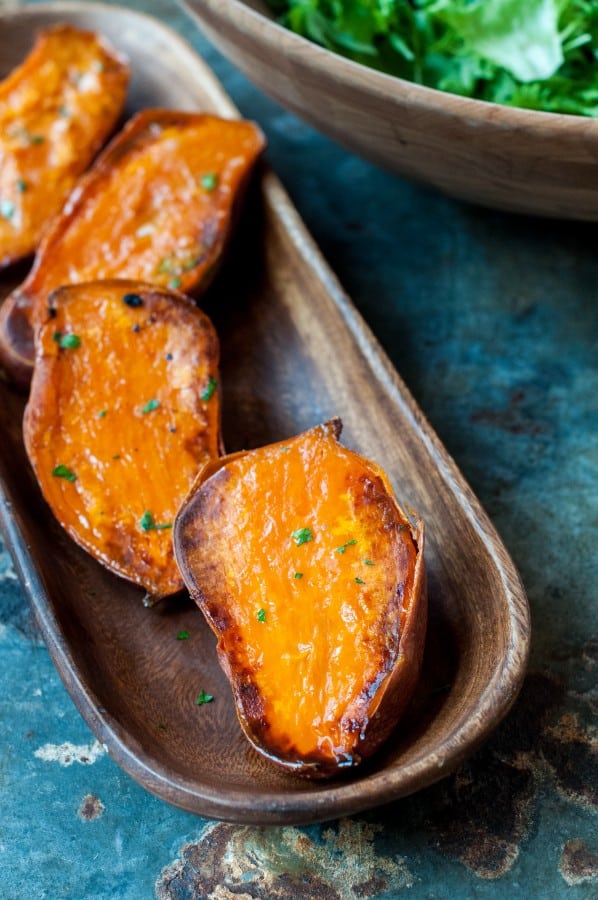
Here is a photo showing you the set up. You will notice that the white board is set up on the opposite side of the light source to reflect the light from the unit onto the carrots.

In low light situations, like the one above, you will definitely want to use a tripod, because when the light is low, your shutter speed tends to be slower, (1/60 sec or slower) and any slight movement or shake, will result in blurred photos.
Ok, I hope these tips were helpful!


19 thoughts on “Food Photography Workshop – Part 2”
Excellent tips and overview! I also shoot with artificial light sometimes, because I have to be realistic here: I can’t always be cooking and shooting at 2 in the afternoon. 🙂
Exactly Laura. Glad to hear that you cheat with artificial light!
I couldn’t wait for part 2 to come! Thank you for sharing your knowledge once again 🙂 I think it is now time for me to invest in those foam boards because they really make such a huge difference in your photos.
I’m so glad you are liking the tips and posts Danielle. Pick up the foam boards as they really do help set the stage. I have been lazy but I will keep putting the aperture info under my photos so you can see what settings I am using and I will let you know about any tips to tricks I pick up as well!
Thanks for sharing these wonderful tips and photos! I’m on a mission to improve the quality of my photos and this information will be helpful.
Thanks Candy! Glad to help 🙂
Another great post! I’m bookmarking it and pinning it! I love this! your photos are gorgeous! Since I just moved to CT and there’s not always great light like in CA…this is going to be very helpful. And excellent point Laura K…we can’t always cook and shoot at 2pm!
xo
annie
HI Annie. The light here is great but at least you don’t get the morning fog out in CT. Somedays it does not clear out till noon or later, ugh! I can’t wait to see the new pics of the house on your blog.
Another great post! I’m bookmarking it and pinning it! I love this! your photos are gorgeous! Since I just moved to CT and there’s not always great light like in CA…this is going to be very helpful. And excellent point Laura K…we can’t always cook and shoot at 2pm!
xo
annie
Great tips & awesome photos!
Thanks Pam!
Ahh JAckie – this was the perfect reminder for me!! I cant belive how lax I have been about photography since our class (doh) – but I also cant wait to get back to London and experiment a bit with the light. I think thats the part Im most excited about. Your photos are looking SO beautiful though – and I love how we both liked it better with the dark board. It totaly also reminds me of a cozy meal you’d have on a rainy afternoon. reminds me of home I guess :).
Im also SO impressed with how much blogging youve got done with the kids around. My schedules been crazy and so blogging has taken a total back seat. I feel bad about it because I do LOVE the blog. Your idea of getting zoe involved to make the super cute video was perfect. Maybe I need to rope some of my school friends into doing a blog photo session too!
So looking forward to seeing you next week too!! and to hearing about your food styling course!! Love you! xoxoxo
Hi Em! I have been lax as well, seriously. I haven’t been experimenting or staging as much as I would like because the kids keep looking at me with those puppy dog eyes so I rush through it all to go play with them. Zoe and Eli are both helping me with the blog. Zoe has been helping me in the by videotaping and editing my posts as well as picking out props for the photos. Eli has been helping by holding the boards up and the scrim. It’s been a family affair.
Can’t wait for next week either!
xoxo,
Jackie
Thanks for all these great photography tips. I learned a lot from you today 😀
at the tail end of winter, i bought one of those lowell lights, just as the days were getting longer – im ready for winter this year, not really, but ya know 🙂
and my white foam boards are the best 99 cents ever!
love everything you shared in this post – thanks for taking the time to post about it since you probably didnt get much from re-posting it all, but we did..thanks you!
I’m excited for the light as it’s going to relieve me of some stress this winter. I know the photos will not be as good as they are with natural light, but its something. I’m so not ready for winter as it’s been cold and windy here these past two weeks. I’m ready for more summer weather.
Glad to hear you liked the tips Averie, not like you need any tips!
Hey Jackie! Thanks for the photography tips! A little birdie told me I’m getting a camera for Christmas, woohoo! I have been doing some reading about aperture, shutter speed, etc and it is all so complicated! I can’t wait to start learning and improving 🙂
Yaay! So glad that Santa is bringing you a camera! I’m still trying to understand manual mode, shutter speed and aperture myself. It takes time and is a never ending learning process. Sometimes I play with the camera and get it right, and other times I just go to aperture priority. 😉
Thanks for sharing your tips! They are really helpful!