Peanut Butter and Chocolate Rice Crispy Bars
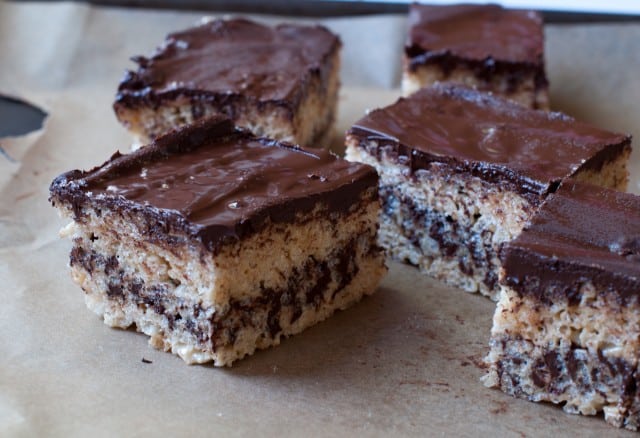
I know, don’t these look amazing? I’ve never been a huge rice crispy bar fan, as I’m more of a cake or cupcake sort of gal, but this particular recipe caught my eye. I just love the combination of peanut butter and chocolate and to throw it together in a crispy and crunchy treat, yum! These bars were a total hit in my house, and I was sort of surprised because as I said before, rice crispy bars are not our go-to choice for dessert. John and I kept sneaking back in the kitchen for seconds and even attempted to share a third. I even think we liked these more than the kids, which is funny because I usually associate rice crispy bars as more of a kid kind of dessert rather than an adult one.
These bars are so simple to make and something that your kids might even be able to do on their own. I thought of having Zoe whip up these bars for a cooking with kids post, but honestly, that girl has been too busy to do a post for the blog. I’m hoping to get her back on here this summer though!
These bars, like any rice crispy bar, taste best day one or two, so eat them up. I’m warning you that these are not an instant gratification treat because you have to wait a few hours for the chocolate to harden a bit. It doesn’t have to be rock solid, but just firm enough that you can cut into the bars. The bars actually taste amazing when the chocolate is still a bit soft on top.
peanut butter and chocolate rice crispy bars:
recipe adapted from Everyday Food magazine
- 1 package (12 ounces) bittersweet or semisweet chocolate chips – I used Ghirardelli 60% cacao bittersweet chips
- 6 cups puffed-rice cereal, such as Rice Krispies
- 3 tablespoons unsalted butter, plus more for the baking dish
- 4 cups miniature marshmallows
- 1/3 cup creamy peanut butter
- 1/2 teaspoon coarse salt
- non-stick baking/cooking spray for the spatula
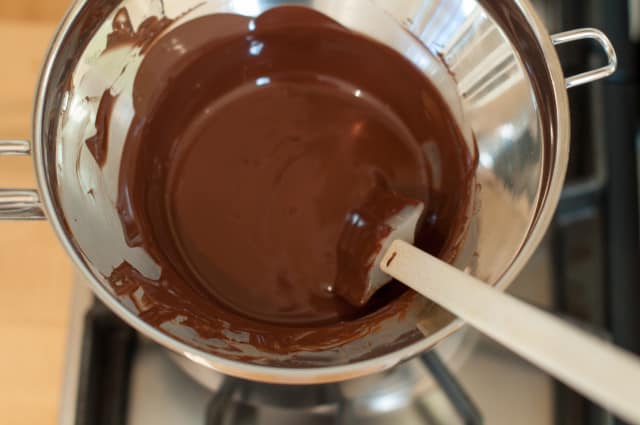
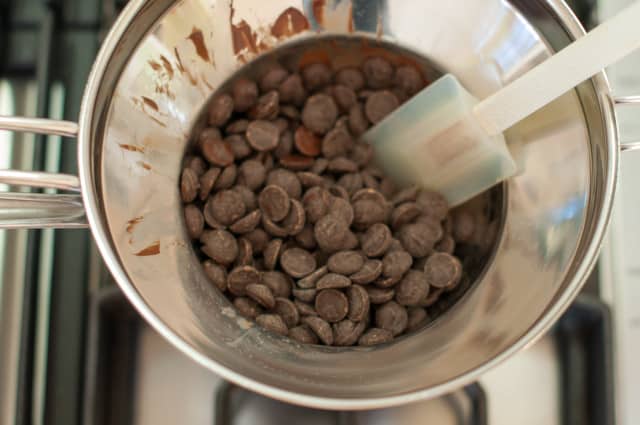
Let’s first melt the chocolate chips. In a large heatproof bowl set over a pan of simmering water, melt your chocolate chips, stirring frequently with a silicone spatula to prevent burning, until melted. Remove the melted chocolate from the heat and set aside.
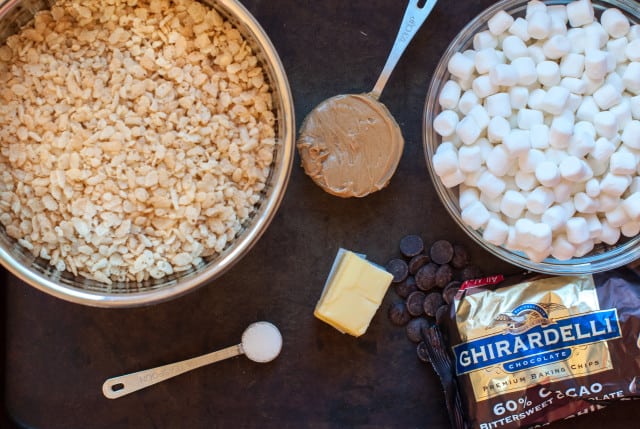
Butter and 8-inch square baking dish. Measure out your 6 cups of rice cereal and put it into a large bowl. You want to measure out your cereal ahead of time as you will be quickly adding it to the melted marshmallow mixture. Measure out 4 cups of marshmallows, 1/3 cup peanut butter, 3 tablespoons butter and the 1/2 teaspoon salt.
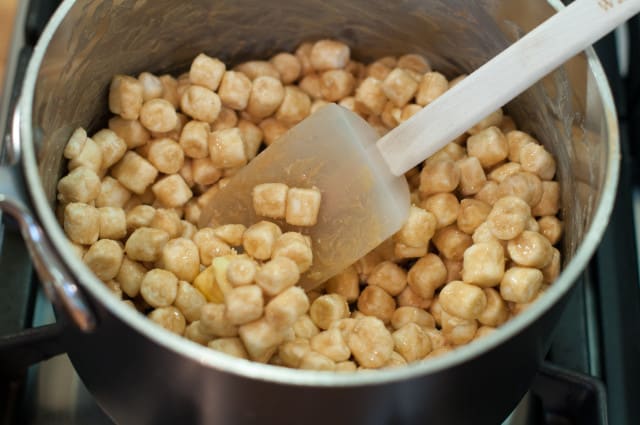
In a large pan, combine the mini marshmallows, peanut butter, butter and salt.
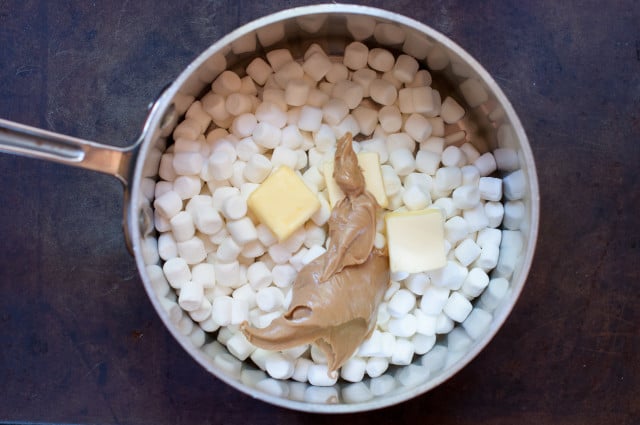
Cook over medium heat, stirring constantly, until melted, about 4 minutes. I used a heavy duty spatula here so that I could scrape along the sides and bottom of the pan.
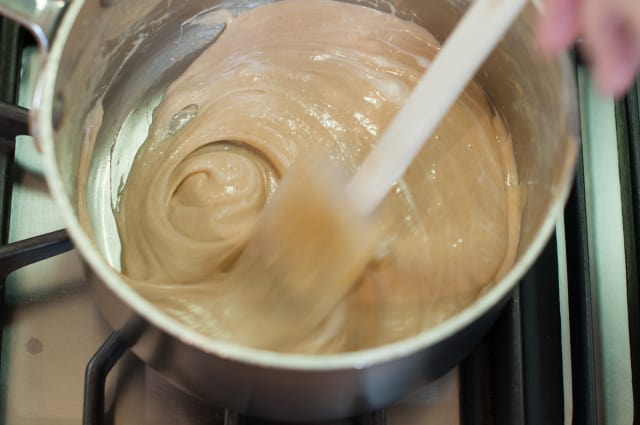
When the marshmallow mixture is melted, add in the 6 cups of rice cereal and give a quick stir, turn off the heat and stir until well combined.
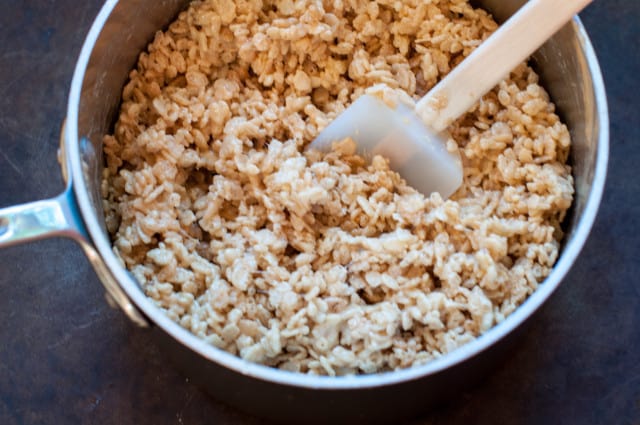
With a spatula lightly sprayed or brushed with a bit of cooking spray or oil, press half of the cereal mixture into the baking dish. The oil on the spatula helps to keep the cereal from sticking to the spatula when pressing down into the pan.
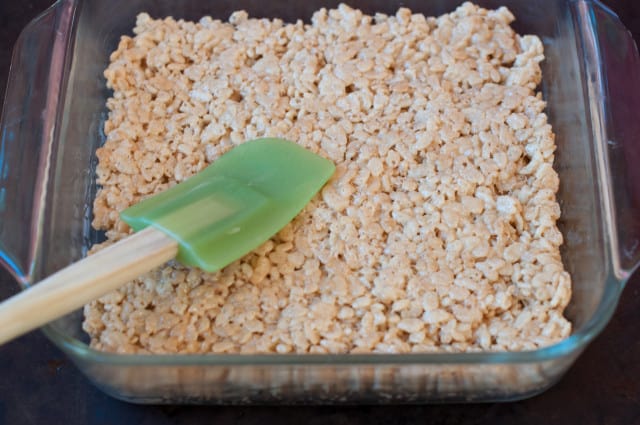
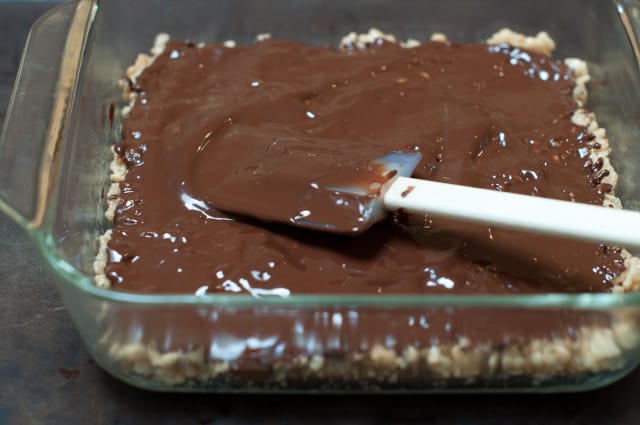
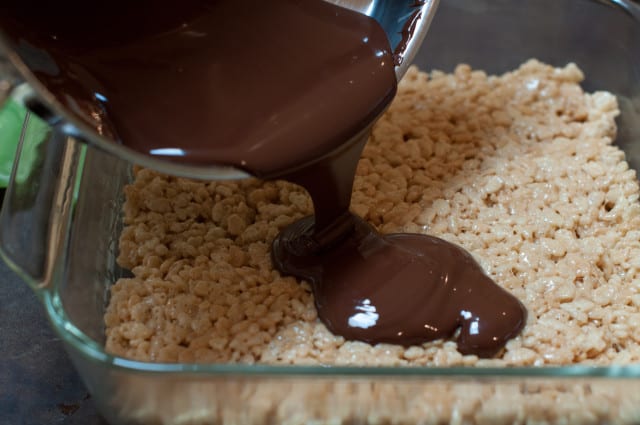
Spread half of the melted chocolate on top of the first layer of cereal, using a spatula to spread it evenly on top.
Spread the rest of the cereal on top of the melted chocolate pressing down with a spatula to make it even.
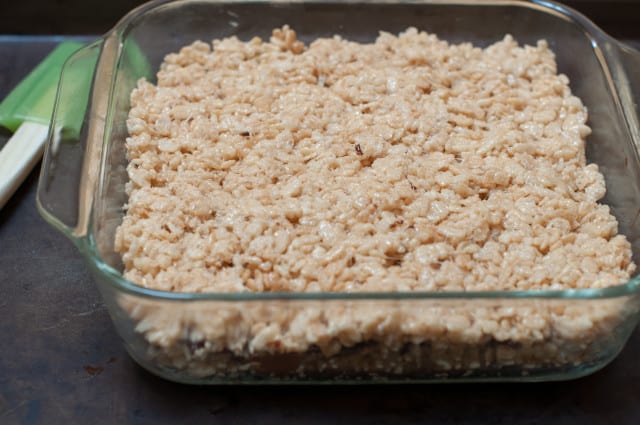
Spread the rest of the chocolate on top of the final layer of cereal, using a spatula to spread the chocolate around evenly.
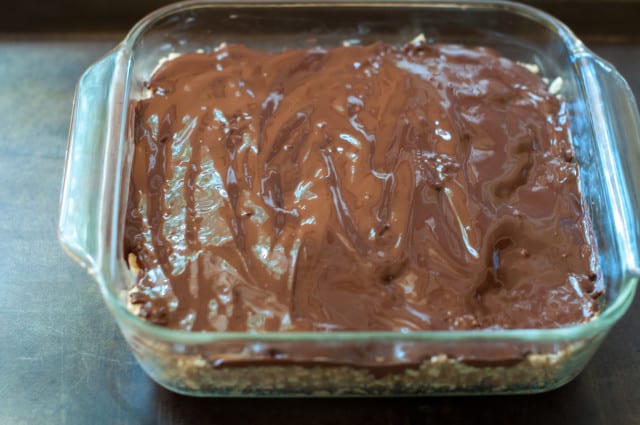
The work is done! Now all you have to do is wait for the chocolate to harden for a few hours. It doesn’t have to be rock solid, but just firm enough that you can cut into the bars. The bars actually taste amazing when the chocolate is still a bit soft on top. Waiting for the chocolate to harden is the hard part, especially for the kids as they will want to dig in right away. I took care of that problem by letting my kids have some of the cereal mixture from the pan as we were assembling the bars.
Let the chocolate cool uncovered at room temperature. If you put it in the fridge to cool it will cause the chocolate to “bloom.” Blooming is where the chocolate gets white dots on it when the fat and/or sugars to separate and rise to the surface. It doesn’t necessarily cause the chocolate to taste different, it just doesn’t look as pretty.

Store the bars in an airtight container, up to 3 days.
Like peanut butter and chocolate? Then try one of the below recipes.
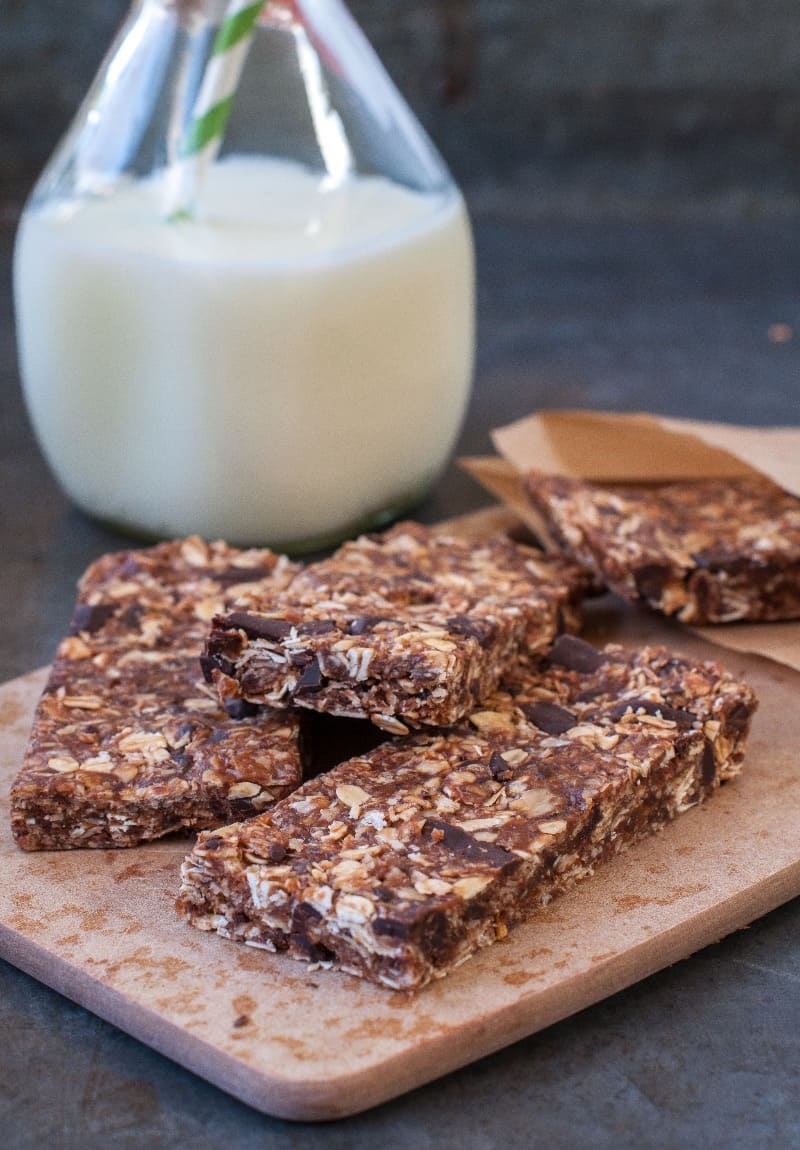
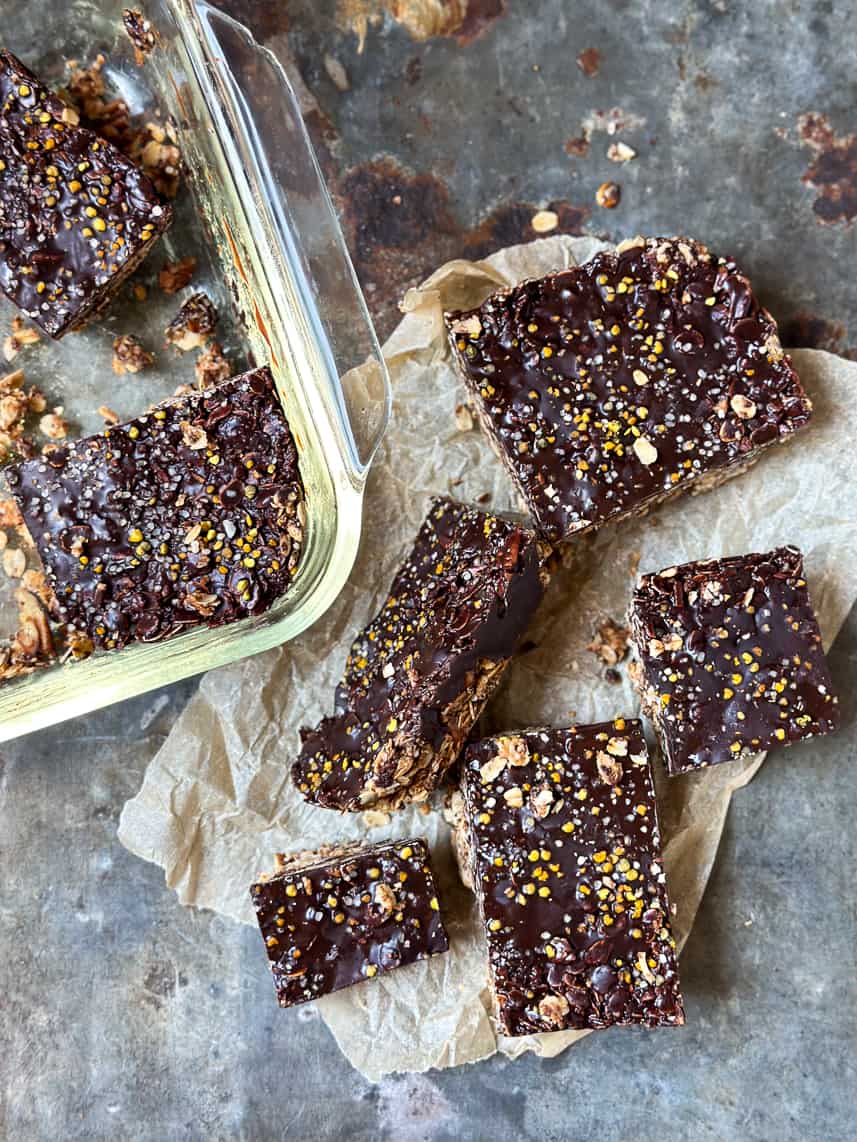
No-bake dark chocolate and peanut butter granola bars.
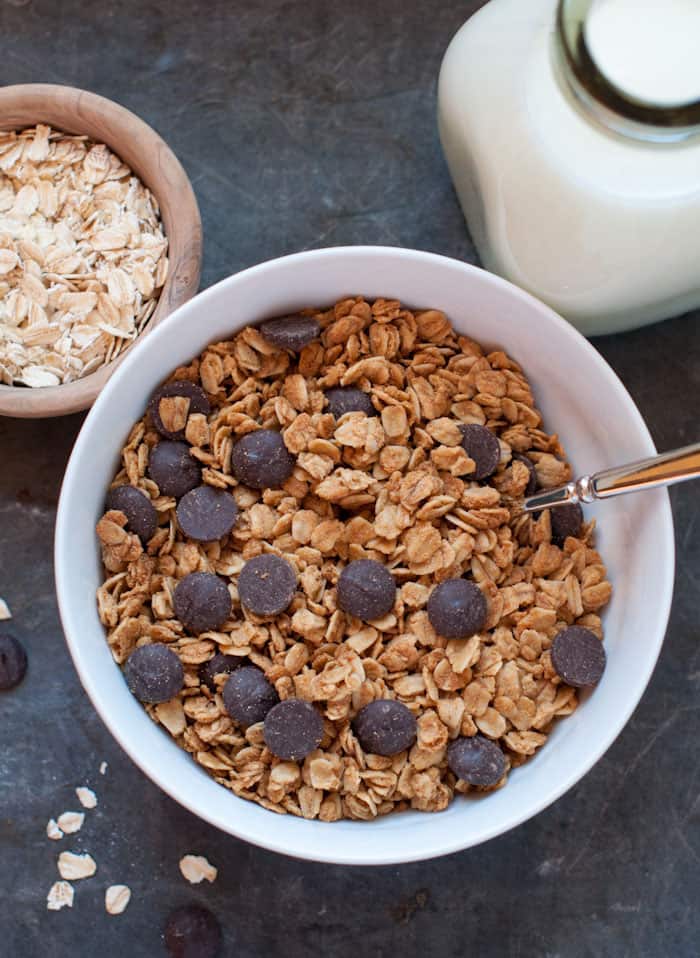
Peanut butter chocolate chip granola.

Peanut Butter and Chocolate Rice Crispy Bars
Ingredients
1 package (12 ounces) bittersweet or semisweet chocolate chips - I used Ghirardelli 60% cacao bittersweet chips
6 cups puffed-rice cereal, such as Rice Krispies
3 tablespoons unsalted butter, plus more for the baking dish
4 cups miniature marshmallows
⅓ cup creamy peanut butter
½ teaspoon coarse salt
non-stick baking/cooking spray for the spatula
Directions
Let's first melt the chocolate chips. In a large heatproof bowl set over a pan of simmering water, melt your chocolate chips, stirring frequently with a silicone spatula to prevent burning, until melted. Remove the melted chocolate from the heat and set aside.
Butter and 8-inch square baking dish. Measure out your 6 cups of rice cereal and put it into a large bowl. You want to measure out your cereal ahead of time as you will be quickly adding it to the melted marshmallow mixture. Measure out 4 cups of marshmallows, ⅓ cup peanut butter, 3 tablespoons butter and the ½ teaspoon salt.
In a large pan, combine the mini marshmallows, peanut butter, butter and salt.
Cook over medium heat, constantly stirring, until melted, about 4 minutes. I used a heavy duty spatula here so that I could scrape along the sides and bottom of the pan.
When the marshmallow mixture is melted, add in the 6 cups of rice cereal and give a quick stir, turn off the heat and stir until well combined.
With a spatula sprayed or lightly brushed with a bit of cooking spray or oil, press half of the cereal mixture into the baking dish. The oil on the spatula helps to keep the cereal from sticking to the spatula when pressing down into the pan.
Spread half of the melted chocolate on top of the first layer of cereal, using a spatula to spread it evenly on top.
Spread the rest of the cereal on top of the melted chocolate pressing down with a spatula to make it even
Spread the rest of the chocolate on top of the final layer of cereal, using a spatula to spread the chocolate around evenly.
The work is done! Now all you have to do is wait for the chocolate to harden for a few hours. It doesn't have to be rock solid, but just firm enough that you can cut into the bars. The bars actually taste amazing when the chocolate is still a bit soft on top.
Let the chocolate cool uncovered at room temperature. If you put it in the fridge to cool it will cause the chocolate to "bloom." Blooming is where the chocolate gets white dots on it when the fat and/or sugars to separate and rise to the surface. It doesn't necessarily cause the chocolate to taste different, it just doesn't look as pretty.
Store the bars in an airtight container, up to 3 days.
Did you make this recipe?
Tag @marinmamacooks on Instagram and hashtag it #MarinMamaCooks
Like this recipe?
Follow us @marinmama on Pinterest
Did you make this recipe?
Follow us on Facebook
Nourish your inbox!
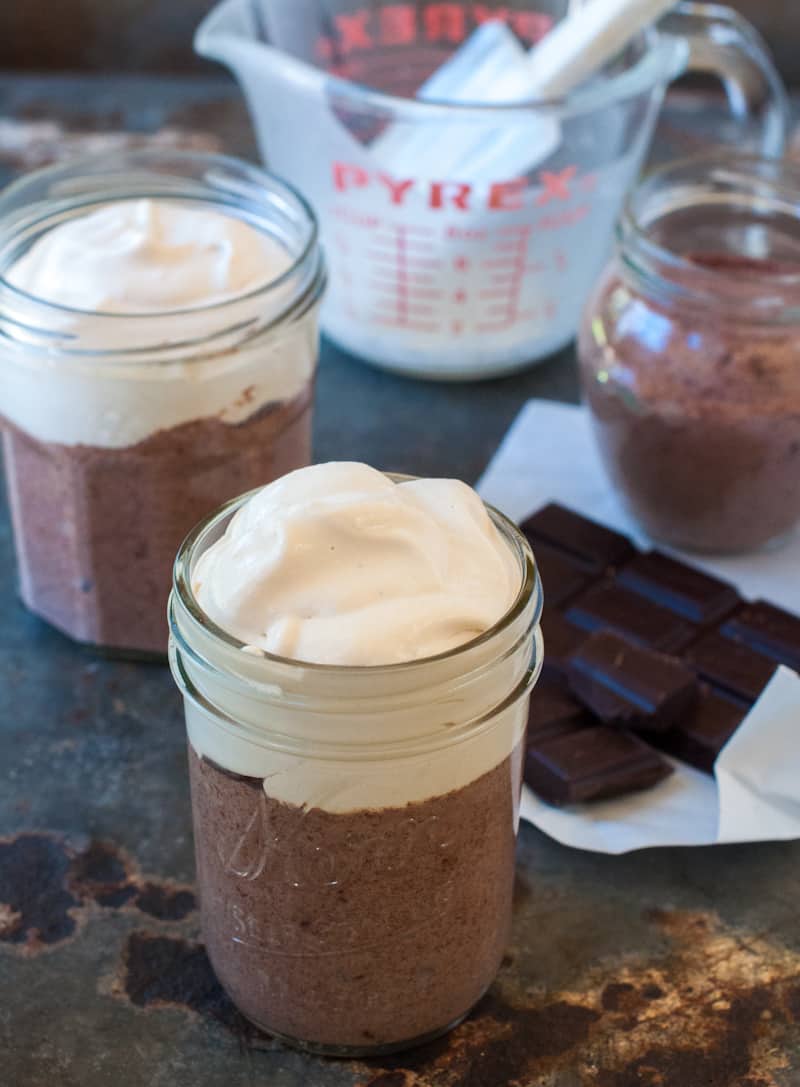
Dairy free green goddess dressing. This is my dairy free, vegan take on a green goddess dressing. I wanted to create a tasty dairy free version, while focusing on keeping the ingredients ultra clean, so I used a coconut based yogurt @cocojune_organic that doesn’t contain gums, or other ingredients you can’t pronounce.
Comment “green” and I’ll DM you the recipe link.
The result, we love this dressing and have been making it on repeat. I love how creamy and vibrant this dressing is and how it coats each piece of lettuce. I also love how interchangeable the herbs are. You can truly use what you have on hand.
This dressing isn’t just for salads, you can use as a dip for veggies, sweet potato fries, or drizzle over grilled or roasted chicken. The possibilities are endless. 💕
#greengoddessdressing #greengoddesssalad #greengoddess #healthyfood #saladdressing #dairyfreesalad #dairyfreerecipes #vegandressing #vegansalad

I want to share with you guys a simple lesson about reading ingredients. Here’s my favorite brand of coconut milk, Native Forest. As you can see, they have 2 kinds of the full fat unsweetened coconut milk, one is called simple, and one is classic. The difference here is in the ingredients, one contains guar gum and one doesn’t.
You really want to look at the labels and the ingredients, and not just trust the brand is the same across all products.
I love this Native Forest, Simple, because again it clearly states no quars, and if you look in the ingredients, you’ll see organic coconut milk, organic coconut, filtered water. Simple whole food ingredients, no added fillers, gums, or flavors. You always want to look for a BPA free cans and the USDA organic stamp, which means its certified organic, so there’s no GMO’s, pesticides etc.
What is guar gum, and why is it bad?
Guar gum, which is derived from the guar bean is a thickening agent that can wreak havoc on your digestive system by causing bloating, gas, and discomfort. It can disrupt the delicate balance of your gut microbiome, leading to inflammation and impaired nutrient absorption. It’s also seen a lot in non-dairy creamers or milks.
Was this helpful? If so, let me know in the comments below, 👇 as well as what else you would like to see, or know more about?
#readlabels #readfoodlabels #guargum #guthealth #guthealing #inflammationrelief #antiimflammatory

Easy buckwheat porridge. If you’re looking to switch up your morning bowl of oats, then give buckwheat a try. It has a chewy texture and mild flavor, that pairs with just about anything.
Comment ‘easy buckwheat’ and I’ll send you the recipe.
This buckwheat porridge is SO EASY to make, and is naturally gluten-free, dairy-free, and vegan to boot, and the bonus is it takes under 15 minutes to whip up in the morning.
This breakfast is hubby approved. Steve tried this the other day and kept saying, “this is the best breakfast,” “man, this is SO good.” So if I can get my mountain biking, carb loving hubby to happily eat of bowl of this, then I think your family might love this too.
I love topping mine with blueberries, @socotahini and bee pollen!
#buckwheat #buckwheatporridge #buckwheatrecipes #porridgebowl #porridge #porridgelover #breakfastideas #breakfast #healthybreakfast #healthybreakfastclub #healthybreakfastideas

Rosemary & thyme turkey burgers. These are not your typical dry turkey burgers. The rosemary and thyme paired with the sautéed red onion give these burgers a pop of flavor, and the Dijon and avocado oil pump up the moisture. These burgers are also gluten-free and dairy-free.
Comment ‘turkey burger’ and I’ll DM you the recipe link.
I love topping these burgers on a big green salad and pairing them with my oven roasted sweet potato fries. Delish! #turkeyburger #turkeyburgers #burger #dairyfreeglutenfree #burgers #healthyfood

These vegan Mexican quinoa bowls have become a weekly staple in our house. They’re naturally vegan, but are full of flavor from the avocado tahini, and spicy chipotle tahini sauce.
Comment ‘vegan bowl’ and I’ll DM you the recipe.
These bowls are also great for those that are on the candida diet.
I ❤️ these bowls because they’re jam packed with plant protein, as quinoa is a complete protein, and beans when paired with the quinoa, make a complete protein too. This bowl is balanced and satisfying from the slow burning carbs, healthy fats, plant protein, and will honestly sustain you for hours.
These bowls are a great weeknight meatless dinner option, as I typically make the sauces ahead of time, (they literally take 5 minutes) so when it comes to dinner time, all I have to do is make the quinoa (takes under 20 minutes) and roast the sweet potatoes. I hope you give these a try, and that they become a go-to meatless dinner.
#candidadiet #candidacleanse #veganbowls #veganbowls #veganrecipes #veganrecipe #vegandinner #vegandinnerideas #healthyfood

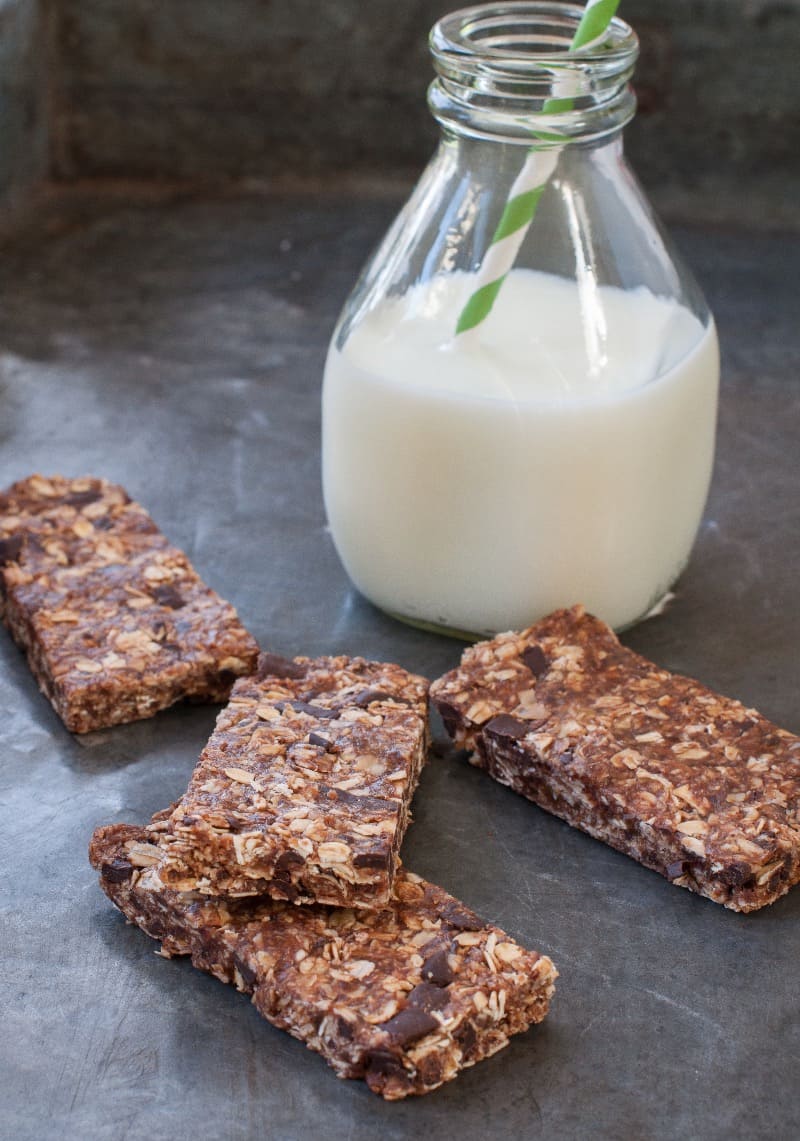
Here’s the perfect snack for those of you trying to cut back on refined sugar. These healthy no bake cacao oat bars are super addicting, once you have a bite, you just can’t stop.
Comment ‘oat bars’ and I’ll DM you the recipe.
The great thing is you don’t have to feel guilty, as these are made with pretty healthy ingredients and are GF, DF and refined sugar free. I love having these on hand for that afternoon, or post lunch craving. They hit the spot perfectly. #healthy #healthysnacks #healthysnackideas #healthysnack #refinedsugarfree #norefinedsugar #healthydesserts #healthydessert #healthydessertrecipes #healthysnackrecipes



I’m a major RKTreats fan…love them, so much ! And with the PB + chocolate, I know these would be perfect!
Thanks Averie girl 🙂
Just wondering what happened to the weekly dinner menu? I rely on it for inspiration!
Oh, so glad to hear that you like the weekly menu. I wonder sometimes if my readers are liking it, so I’m glad when I hear comments like yours. I will have the weekly menu post back this weekend. Last weekend was so crazy that I just didn’t have time to throw together a post for Sunday and I had the ambrosia post in my drafts so I just went with that. Thanks for letting me know that you enjoy the weekly menu post! 😉
Oh my goodness! These would definitely be worth trying. I’m like you with rice crispy bars, they’re good but I don’t really make them but if you include peanut butter and chocolate, I could really love these!
Hope your week is going well. Work has been busy so I’m taking a break to catch up on my favorite blogs. 🙂 It’s a gorgeous week here so was working outside this morning on the patio until the battery on my laptop died. I’ll get back out there again soon! xoxo, Sharon
See how much we’re alike girl! My week is way better than last week. I think it’s because I got to work hot lunch at both of the kid’s schools the past two days. That always brightens my days up. I was outside yesterday afternoon with the laptop and the same thing happened to me. Those darn batteries! They don’t last long enough. Have a great night! xoxo, Jackie
I’m making these today, I love anything with chocolate and peanut butter. We are under another winter storm warning, yes it IS May. Ridiculous! Hopefully these will brighten my mood 🙂
Are you serious? Another winter storm warning? What is up with the weather in MN this year? We just had another heat wave, which is unusual for CA. I do hope a batch of these brighten your day! xoxo, Jackie
Oh yes they do look amazing! I think my girls would like to start their day with one (or two) of these!!
Mary x
Oh my…. It’s looks delicious!! Can’t wait to try it this weekend. Thanks for the recipe 🙂
Thanks Louise! I hope you like them 🙂
ummmmmm…..I just can’t take it! I need to make these PRONTO. Anything with peanut butter and chocolate is a winner in my book. And I love that you don’t have to use the oven so it’s the perfect summertime treat! I think I’ll take these to our softball tournament this weekend….that is if they survive the ride there;)
Hey girl! Yes, you should totally make these up for Cat’s softball tournament this weekend. Perfect road trip snack! Great seeing you on Monday as always 🙂
okay so I always make cookies every week. if i don’t have a cookie I get mad. With that said, my husband is always asking me to make a different sweet treat- so guess what- this is going to be that “different’ sweet treat because I could not imagine NOT making it. It looks that GOOD! Friend you are the bomb and i am so glad to know you. I have been crazy busy and I am sorry I have been MIA but i am always here for ya!
Girl, I’m the same way, I need something sweet every night. I miss you as well, but you have tons going on and I’m glad to hear that it’s all good things! I’m psyched to have you in my life as well and I can’t wait for us to meet up one of these days! xoxo, Jackie
Okay, kids made them last night (I never did get around to making them for the softball tournament) and they were a HUGH hit! I love the PB element and think I’ll add just a bit more next time:)
Awesome girl! I’m so glad the kids made them and that they were a hit! I was thinking of using more peanut butter as well next time. What are you thinking 1/2 cup? Thanks for letting me know how they turned out 🙂
Hi Jackie!
I love , love your blog! Your recipes are terrific, and your writing style is so enjoyable to read!
I’ve made several of your recipes and they have all turned out great…except for these. 🙁 It was as if my marshmallow mixture wasn’t enough for the amount of Rice Krispies and my melted chocolate wasn’t enough for two layers. Did I perhaps not let the marshmallow mixture melt long enough to be more liquid-y? Just curious if you have any ideas as to where I may got off track.
Again, love your blog! Keep the recipes comin’!
Hi Katherine! So sorry this particular recipe didn’t work for you! I hate when that happens 🙁 I’ve made these bars 3 times from this recipe and a couple of friends have as well, and it has worked for them and I. Also, I took the exact measurements for this recipe from Everyday Food, so I didn’t change any of the measurements, I just didn’t top the bars with peanuts (yuck). Did you use mini marshmallows? Did you just use 6 cups of rice Krispies? You want to make sure that the mixture is fully melted before you add the rice krispies. Maybe leave the heat on for a minute while you’re mixing the mixture together with the rice krispies. I know that I had to really stir the mixture together to get it all blended, but there was definitely enough to get the mixture to hold together. Maybe try it again? I hate to ask that, but there have been times where I have made something the first time or even the 10th time and forgotten one key ingredient or measured wrong, even when I thought I measured right. One time I made my favorite chocolate chip cookies and when they came out of the oven, they were flat. I was like, what went wrong? Then I went over the list again and realized that I had used a smaller measuring cup for the flour, I used a 1/3 cup rather than 1/2 cup. So sometimes, things like that happen.
As far as the chocolate goes, you can always add more if you like. I had enough for the bars, I just make the first layer a bit thin and really spread it around, and then used the rest for the topping. The first time that I made these I made the first layer thicker and the 2nd layer (top) was thinner, so you really just have to gage it. Did you use an 8×8 pan? I think if you were using larger pan then you might of had more area to cover, so there would be less chocolate to cover that area. I really wish there was something else I could recommend to you.
Thanks for your kind words. Hey, if you live local, come on by and we can make a batch of these together. Seriously! Ok, sorry for the LONGEST COMMENT EVER! xoxo, Jackie
Jackie,
Thanks for your response…so I think I figured it out! I used fresh almond butter (kinda chunky, the kind you get made at the grocery store) and think that texture may have been too different. Oops! I’ll try it again and report back.
Again, thanks for your blog…lots of great recipes that have become some of our favorites…and you made me a kale believer. As a side note, I made your chocolate chip cookies recently for a picnic and was asked were I bought them…when I told them I had made them, my friends remarked “they look so professional I was sure they were store bought!” 🙂
-Katherine
PS- I am in Austin, Texas so can’t come by to make anything with you 🙁 But, wish I could!
Hi Katherine. Yes, the freshly made peanut butters or almond butters are probably not the best option. I used Jiff creamy for the first 2 batches and then MaraNatha organic no stir creamy peanut butter the next one, and that worked out great as well.
So glad that you made those chocolate chip cookies. They’re the BEST and they do taste like they’re from the bakery. I’m so glad you love the kale salads as well. We’re currently addicted to the kale and ricotta salata salad. Happy to hear that I have a fan in Texas! Have a great day Katherine! xoxo, Jackie
I made these yesterday for my kids for an afternoon snack. I have 4 children between the ages of 16 and six. The y finished the pan before dinner. Wow! This morning they requested that I make them again for their baseball games this weekend so they can share with their teammates. Thanks for the easy recipe. Kids are loving these and some other recipes I have tried on your blog. Keep it up
Hi Jana! Wow, so glad your kids loved and devoured these. I think you might need to double the batch next time 🙂 I’m also psyched to hear that your family is loving the recipes on the blog. That makes my day 🙂 Thanks for stopping by Jana. xoxo, Jackie
I made this recipe twice now. Very good! This time I used 1/2 choc chips and 1/2 peanut butter chips.
Hi Sue! I’m so glad you like these bars! I love the combination of using peanut butter and chocolate chips, yum! 🙂