- Bread | Breakfast | dairy-free | gluten-free | Popovers | Quick Bread
Dairy Free Gluten Free Popovers
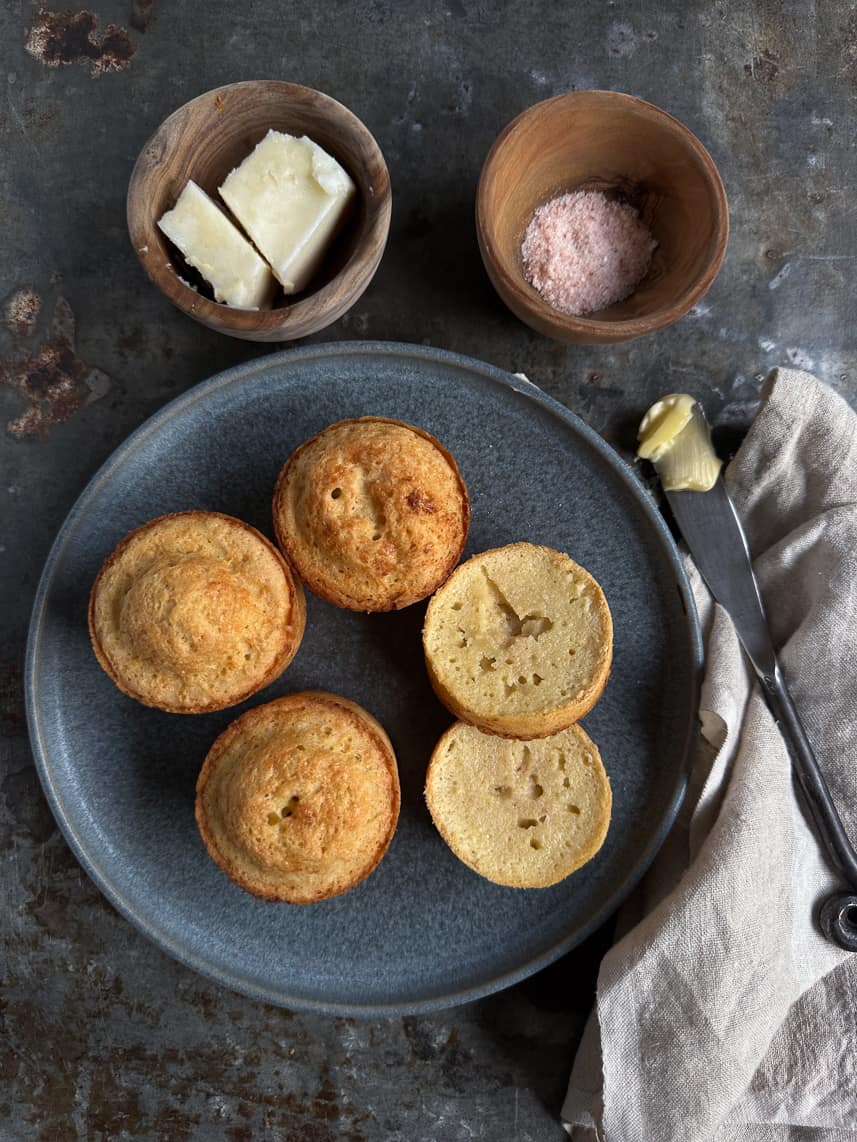
These dairy free, gluten free popovers were created by me on the fly one night when I was experimenting with creating a dairy free, gluten free popover. I didn’t want to use a traditional gluten free flour, as they contain gums, and I wanted to use more of a whole-grain flour, so I experimented using brown rice flour.
I started out by calling these “pop-unders” but realized that’s not even a word, (plus who is going to do a Google search for pop-unders) so I changed the name to popovers. Since these popovers are dairy free and gluten free, they do not rise like traditional popovers, but they taste AMAZING, and that’s what counts. They have since become our new favorite popover.
These popovers are not fancy at all, and I almost didn’t post them, but I kept making them over and over and sharing them on instagram, that people were asking for the recipe. These popovers have a corn muffin texture and honestly pair with just about anything from eggs and bacon, to steak and salad. They’re a versatile little carb. I’ll also admit that these are not entirely dairy free, as I used butter, but I can tolerate butter, and honestly, I love butter!
Dairy Free Gluten Free Popovers
makes 6
special equipment: popover pan
- 2 large or extra large eggs, at room temperature
- 1 cup unsweetened almond milk, I use three trees original almond milk, as it’s just organic almonds & filtered water, if you can’t find that I like Malk organics
- 1 tablespoon unsalted butter, melted – I can personally tolerate butter, but if you can’t tolerate butter, you can use Ghee or an unsalted vegan butter, I have not made these with anything but butter, so if you try an alternative to butter, let me know.
- 1 cup (140 grams) organic brown rice flour – I find it easier to measure alternative flours using a digital scale, as it’s way more accurate.
- 1/2 teaspoon baking powder, use baking powder not soda!
- 1/4 teaspoon fine Celtic sea salt
- 2 tablespoons unsalted butter, melted – You’re going to use this to grease the pan – you can also use Ghee, or unsalted vegan butter
Preheat the oven to 450 degrees.
In a medium sized bowl, whisk together the eggs, almond milk and 1 tablespoon melted butter until completely combined.
Add in the 1 cup brown rice flour, 1/2 teaspoon baking powder and 1/4 teaspoon salt, and whisk the batter well. Let the batter rest while you heat the popover pan.
Put the empty popover pan in the pre-heated oven for 5-10 minutes to warm up. I usually put my pan in when the oven temp reaches 400 degrees and then take it out when it reaches 450 degrees.
While the pan is heating up, melt the other 2 tablespoons of butter.
Take the popover pan out of the oven and divide the 2 tablespoons of melted butter between the cups. Just pour the butter into the tins and let it rest at the bottom. The butter will sizzle and brown, but that’s fine.
Whisk the batter one more time to froth it up again. Give it a good whisk!
Fill popover cups halfway with batter. Make sure that you pour an even amount in all cups.
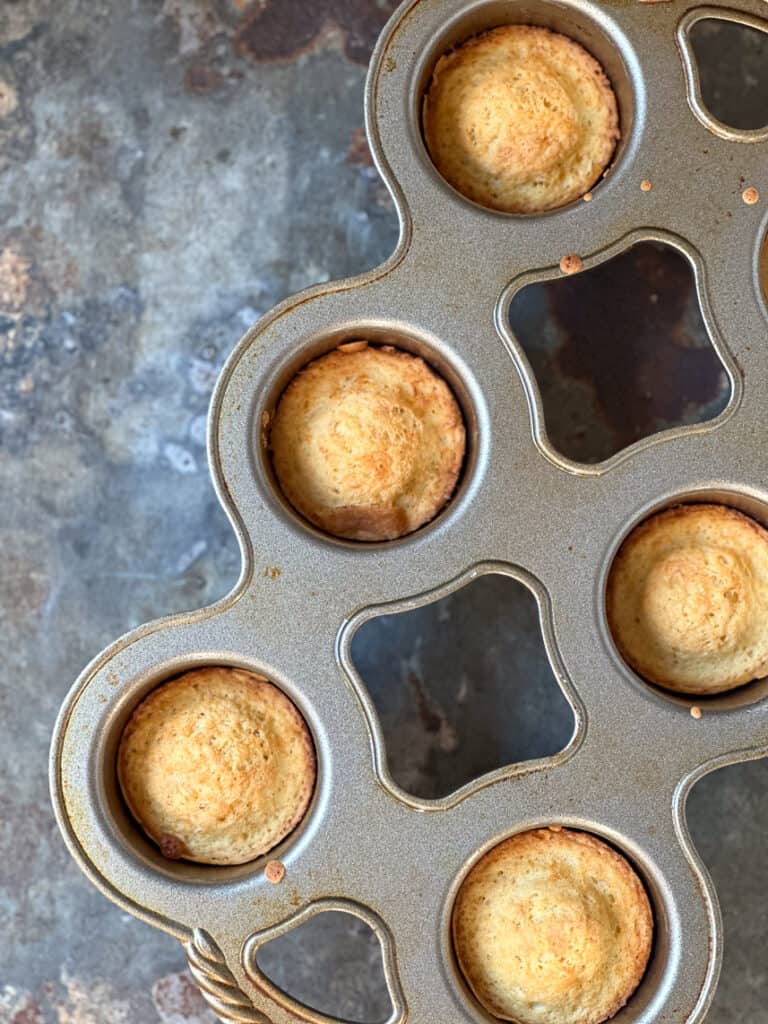
I love this grand popover pan from Nordic Ware. It may cost more than the normal popover pan, but it makes the perfect popover and they don’t stick to the pan. The pan is made of cast iron, so it cooks up the popovers evenly. I’ve had mine for 10 years now and I use it at least once a week, if not more, and it’s still looks brand new. If you find yourself making popovers quite often, then I would invest in a good quality popover pan.
Put the pan in the oven and bake the popovers at 450 degrees for 16 minutes until they begin to brown and rise.
Do not open the oven door during baking, as this will cause the popovers to deflate.
Reduce the heat to 350 degrees and bake the popover for another 16 minutes. These popovers will not rise and will resemble muffins, but they will brown up.
Flip the popovers out of the pan, or grab them out with your fingers. They will literally pop out if you tip the pan over, so be sure to flip the pan over gently. Note: Don’t leave the popovers in the tins, as the bottoms will get all wet from the butter.

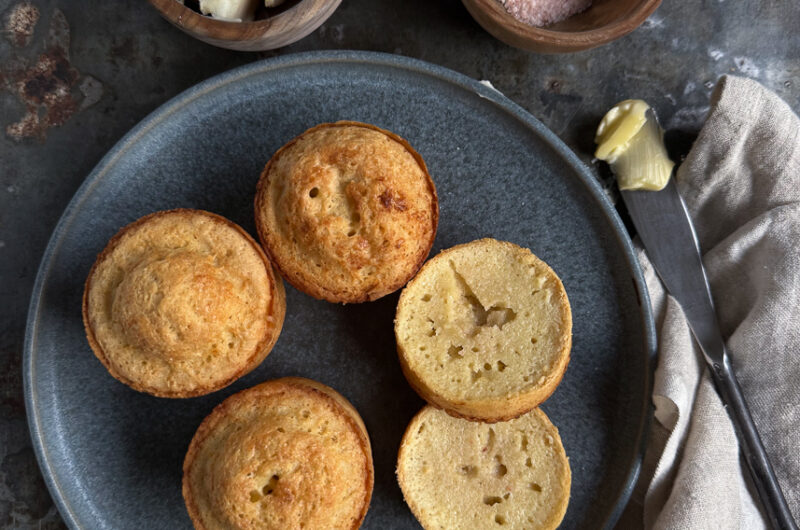
These popovers are the best when they’re fresh from the oven. We love slicing them in half and spreading each side with a bit of butter and pinch of pink Himalayan sea salt, so good!
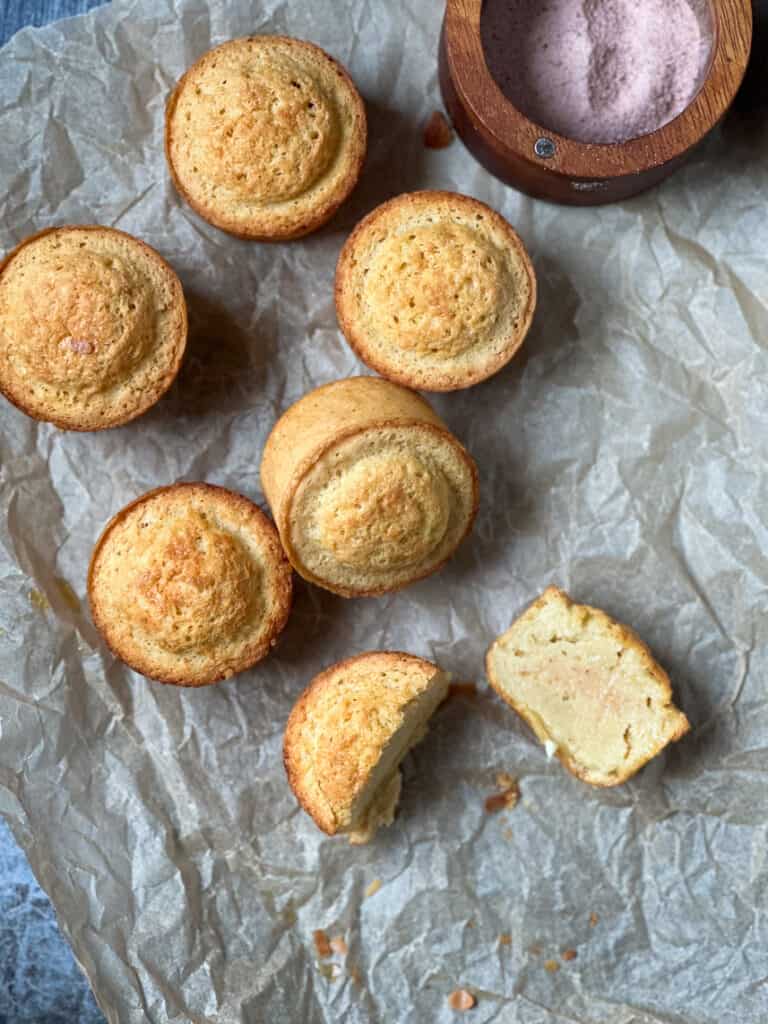
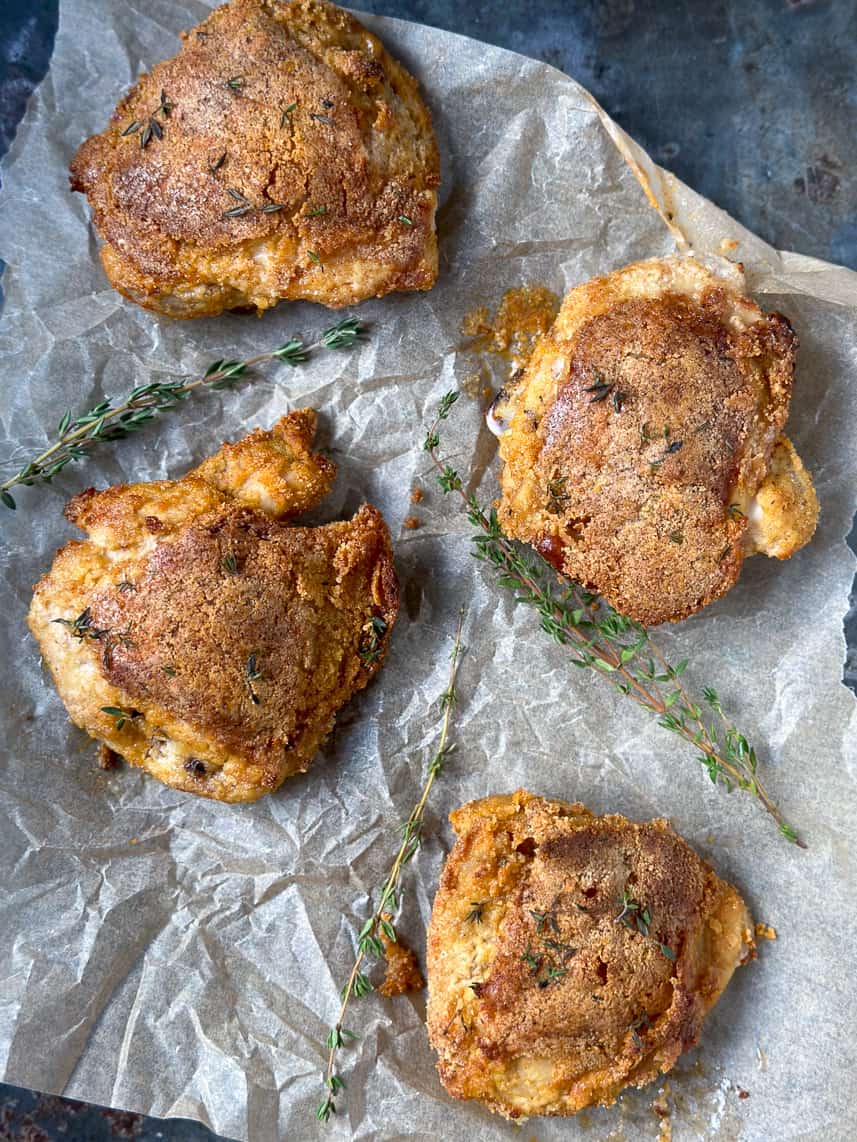
These popovers taste amazing with my lemon and herb roasted chicken thighs.
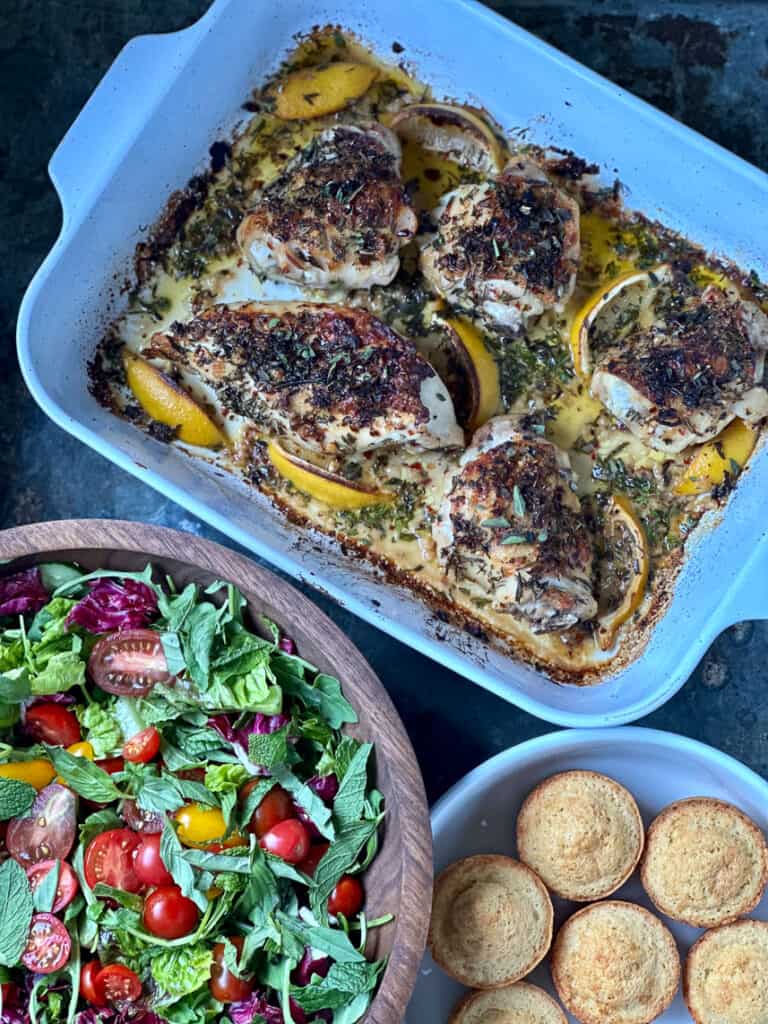
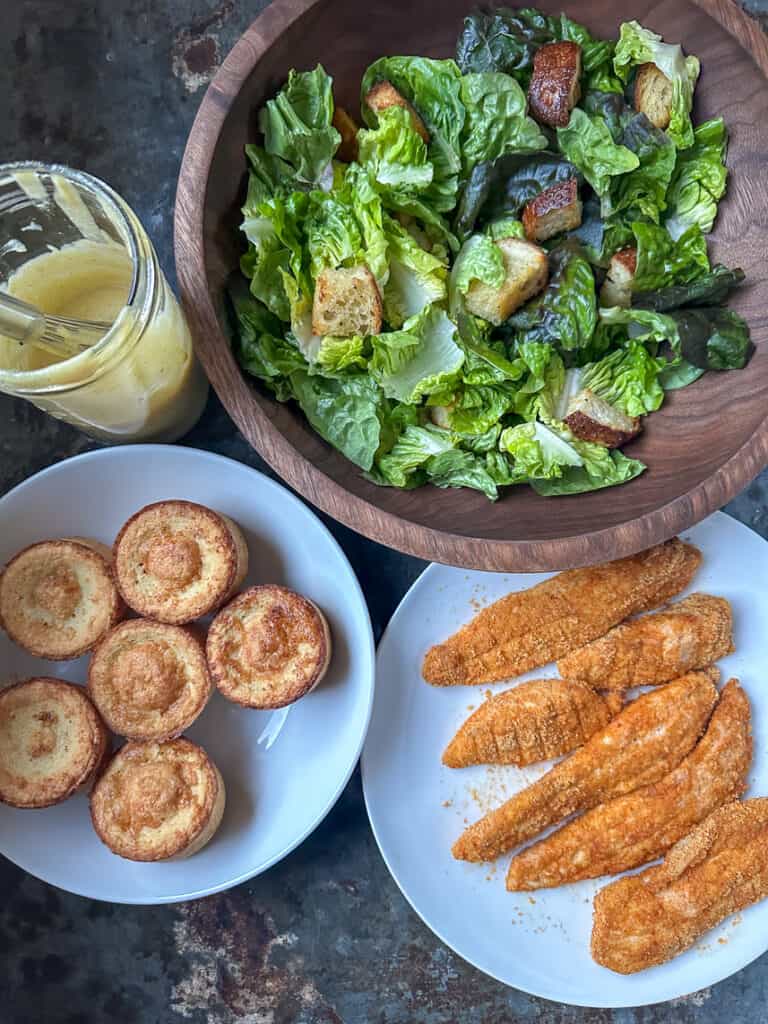
We also love pairing them with my kid friendly caesar salad.
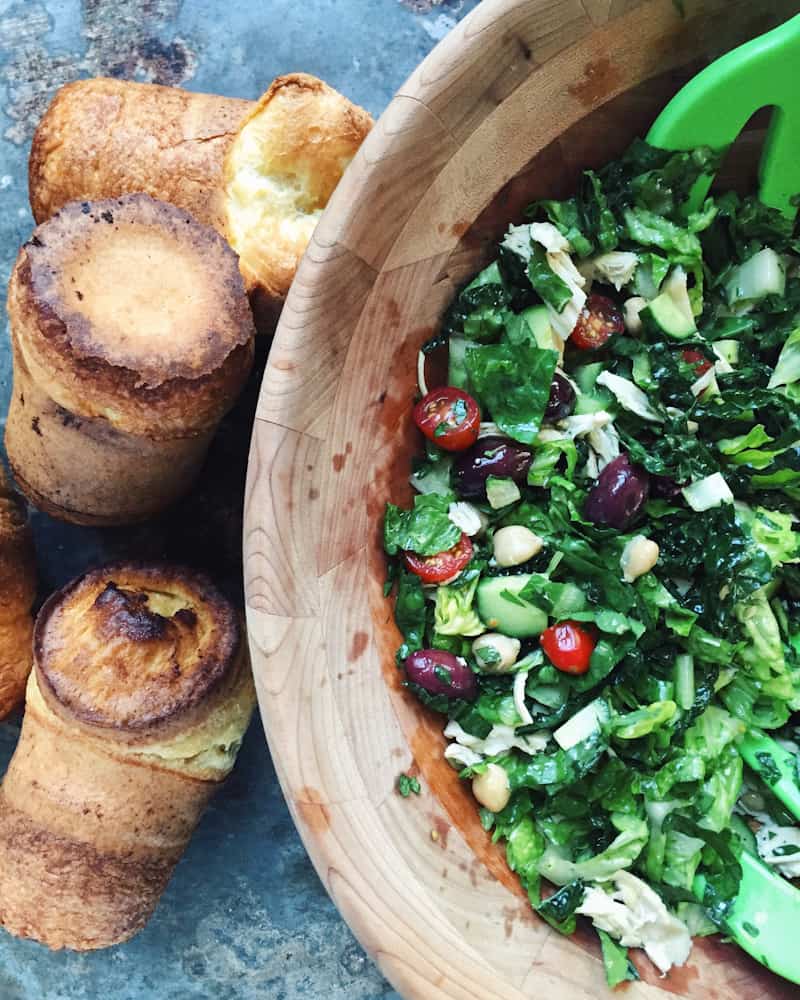
If you want a traditional popover, then you have to make my classic popover. These are a HUGE hit with everyone from 2 year olds to 90 year olds.
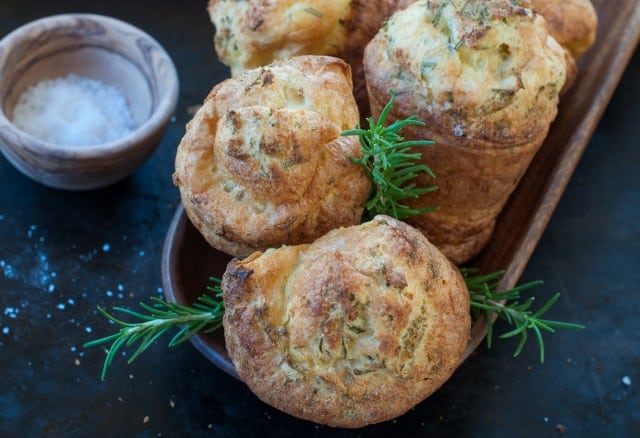
My rosemary and sea salt popovers are the bomb as well!
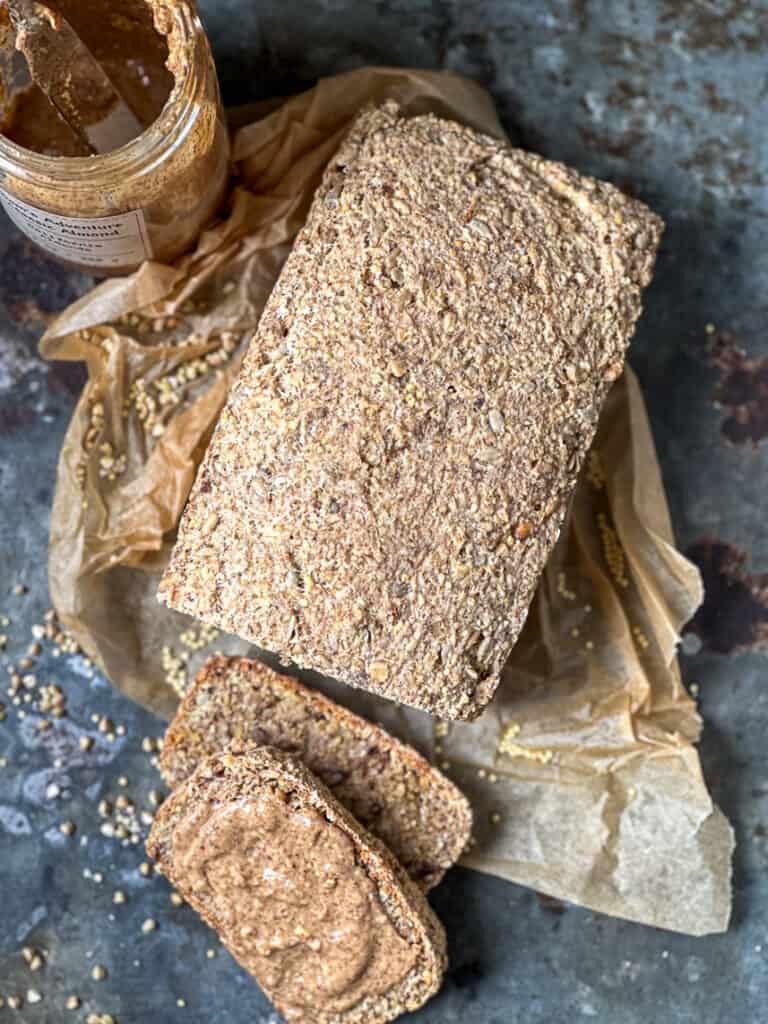
This gluten free, vegan bread is my new favorite bread, and it’s a bread that you can feel good about eating, not guilty. Why? First off, it’s, gluten free, refined starch free, gum free, yeast free, flour free, full of protein and healthy fats, and has great taste and texture, and as Steve’s would say, “it doesn’t taste like cardboard.” It’s a great bread for those on an candida diet too.
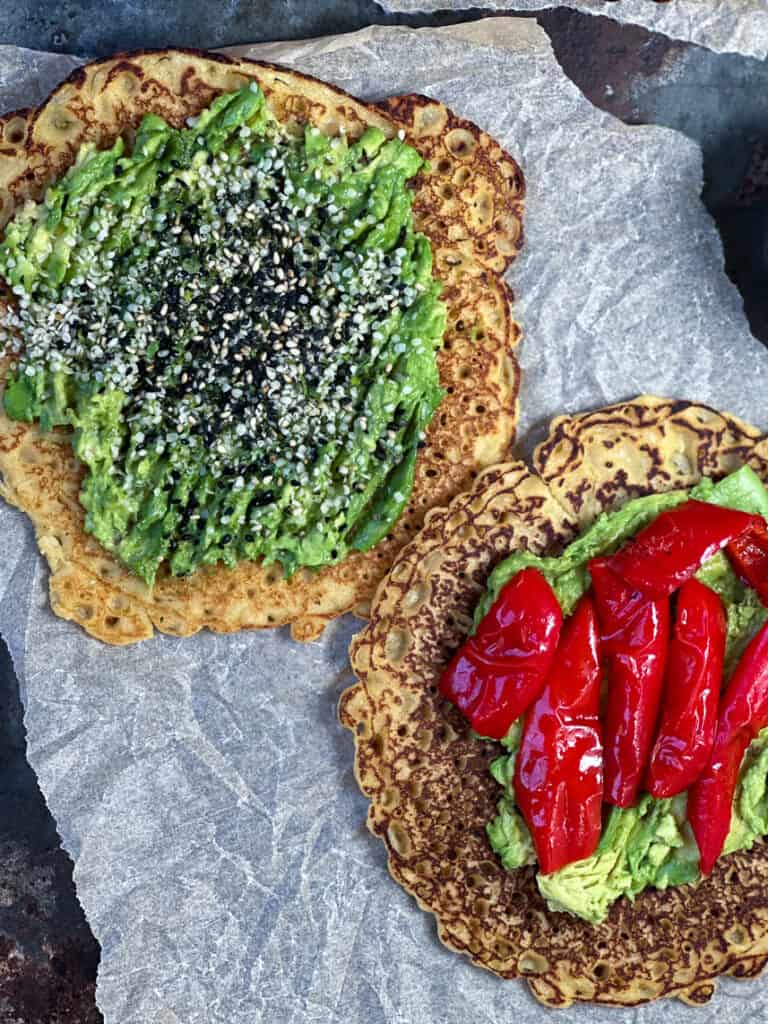
Want another super easy, GF, vegan carb to pair with eggs, avocado toast or to use for your next taco night? Try my chickpea flour pancakes. The batter only requires 4 simple ingredients, chickpea flour, water, salt and avocado oil. That’s it. The pancakes under 5 minutes to make. It’s my go-to carb.

Dairy Free Gluten Free Popovers
6
servings10
minutes32
minutesThese dairy free, gluten free popovers have a corn muffin texture and honestly pair with just about anything from eggs and bacon, to steak and salad. I'll also admit that these are not entirely dairy free, as I used butter, but I can tolerate butter, and honestly, I love butter. Feel free to use vegan butter, and I have a link for one I love below. These popovers are a super versatile little carb!
Ingredients
2 large or extra large eggs, at room temperature
1 cup unsweetened almond milk, I use three trees original almond milk, as it's just organic almonds & filtered water, if you can't find that I like Malk organics
1 tablespoon unsalted butter, melted - I can personally tolerate butter, but if you can't tolerate butter, you can use Ghee or an unsalted vegan butter, I have not made these with anything but butter, so if you try an alternative to butter, let me know.
1 cup (140 grams) organic brown rice flour – I find it easier to measure alternative flours using a digital scale, as it’s way more accurate.
1/2 teaspoon baking powder - use baking powder not soda
1/4 teaspoon fine Celtic sea salt
2 tablespoons unsalted butter, melted – You’re going to use this to grease the pan - you can also use Ghee, or unsalted vegan butter
Directions
Preheat the oven to 450 degrees.
In a medium sized bowl, whisk together the eggs, almond milk and 1 tablespoon melted butter until completely combined.
Add in the 1 cup brown rice flour, 1/2 teaspoon baking powder and 1/4 teaspoon salt, and whisk the batter well. Let the batter rest while you heat the popover pan.
Put the empty popover pan in the pre-heated oven for 10 minutes to warm up. I usually put my pan in when the oven temp reaches 400 degrees and then take it out when it reaches 450 degrees.
While the pan is heating up, melt the other 2 tablespoons of butter.
Take the popover pan out of the oven and divide the 2 tablespoons of melted butter between the cups. Just pour the butter into the tins and let it rest at the bottom. The butter will sizzle and brown, but that’s fine.
Whisk the batter one more time to froth it up again. Give it a good whisk!
Fill popover cups halfway with batter. Make sure that you pour an even amount in all cups.
I love this grand popover pan from Nordic Ware. It may cost more than the normal popover pan, but it makes the perfect popover and they don’t stick to the pan. The pan is made of cast iron, so it cooks up the popovers evenly. I’ve had mine for 10 years now and I use it at least once a week, if not more, and it’s still looks brand new. If you find yourself making popovers quite often, then I would invest in a good quality popover pan.
Put the pan in the oven and bake the popovers at 450 degrees for 16 minutes until they begin to brown and rise.
Do not open the oven door during baking, as this will cause the popovers to deflate.
Reduce the heat to 350 degrees and bake the popover for another 16 minutes. These popovers will not rise and will resemble muffins, but they will brown up.
Flip the popovers out of the pan, or grab them out with your fingers. They will literally pop out if you tip the pan over, so be sure to flip the pan over gently. Note: Don’t leave the popovers in the tins, as the bottoms will get all wet from the butter.
These popovers are the best when they’re fresh from the oven. We love slicing them in half and spreading each side with a bit of butter and pinch of pink Himalayan sea salt, so good!
If you want a traditional popover, then you have to make my classic popover. These are a HUGE hit with everyone from 2 year olds to 90 year olds.
Notes:
- I originally called these pop-unders because they didn't rise like traditional popovers, but I realized whose going to search for something called, pop-unders, so I recently changed the name to popovers.
- I have only experimented making these with Three Tree's unsweetened pistachio and almond milk, and I've only made these using brown rice flour. I think oat flour and white rice flour would be nice substitutes.
- One of my followers on instagram used a muffin tin and made these. She said you can use a bit less butter, as the muffin tins don't need as much. Also, she used her homemade hemp milk! Success! I have not yet tried them in muffin tins, so I can't gage the timing.
- For more of my favorite gluten free recipes, check out the links in my above post.
Did you make this recipe?
Tag @marinmamacooks on Instagram and hashtag it #MarinMamaCooks
Like this recipe?
Follow us @marinmama on Pinterest
Did you make this recipe?
Follow us on Facebook
Nourish your inbox!
Hi, I'm Jackie!
Dairy free green goddess dressing. This is my dairy free, vegan take on a green goddess dressing. I wanted to create a tasty dairy free version, while focusing on keeping the ingredients ultra clean, so I used a coconut based yogurt @cocojune_organic that doesn’t contain gums, or other ingredients you can’t pronounce.
Comment “green” and I’ll DM you the recipe link.
The result, we love this dressing and have been making it on repeat. I love how creamy and vibrant this dressing is and how it coats each piece of lettuce. I also love how interchangeable the herbs are. You can truly use what you have on hand.
This dressing isn’t just for salads, you can use as a dip for veggies, sweet potato fries, or drizzle over grilled or roasted chicken. The possibilities are endless. 💕
#greengoddessdressing #greengoddesssalad #greengoddess #healthyfood #saladdressing #dairyfreesalad #dairyfreerecipes #vegandressing #vegansalad #salad #healthysalad #healthysalads

I want to share with you guys a simple lesson about reading ingredients. Here’s my favorite brand of coconut milk, Native Forest. As you can see, they have 2 kinds of the full fat unsweetened coconut milk, one is called simple, and one is classic. The difference here is in the ingredients, one contains guar gum and one doesn’t.
You really want to look at the labels and the ingredients, and not just trust the brand is the same across all products.
I love this Native Forest, Simple, because again it clearly states no quars, and if you look in the ingredients, you’ll see organic coconut milk, organic coconut, filtered water. Simple whole food ingredients, no added fillers, gums, or flavors. You always want to look for a BPA free cans and the USDA organic stamp, which means its certified organic, so there’s no GMO’s, pesticides etc.
What is guar gum, and why is it bad?
Guar gum, which is derived from the guar bean is a thickening agent that can wreak havoc on your digestive system by causing bloating, gas, and discomfort. It can disrupt the delicate balance of your gut microbiome, leading to inflammation and impaired nutrient absorption. It’s also seen a lot in non-dairy creamers or milks.
Was this helpful? If so, let me know in the comments below, 👇 as well as what else you would like to see, or know more about?
#readlabels #readfoodlabels #guargum #guthealth #guthealing #inflammationrelief #antiimflammatory

Easy buckwheat porridge. If you’re looking to switch up your morning bowl of oats, then give buckwheat a try. It has a chewy texture and mild flavor, that pairs with just about anything.
Comment ‘easy buckwheat’ and I’ll send you the recipe.
This buckwheat porridge is SO EASY to make, and is naturally gluten-free, dairy-free, and vegan to boot, and the bonus is it takes under 15 minutes to whip up in the morning.
This breakfast is hubby approved. Steve tried this the other day and kept saying, “this is the best breakfast,” “man, this is SO good.” So if I can get my mountain biking, carb loving hubby to happily eat of bowl of this, then I think your family might love this too.
I love topping mine with blueberries, @socotahini and bee pollen!
#buckwheat #buckwheatporridge #buckwheatrecipes #porridgebowl #porridge #porridgelover #breakfastideas #breakfast #healthybreakfast #healthybreakfastclub #healthybreakfastideas

Rosemary & thyme turkey burgers. These are not your typical dry turkey burgers. The rosemary and thyme paired with the sautéed red onion give these burgers a pop of flavor, and the Dijon and avocado oil pump up the moisture. These burgers are also gluten-free and dairy-free.
Comment ‘turkey burger’ and I’ll DM you the recipe link.
I love topping these burgers on a big green salad and pairing them with my oven roasted sweet potato fries. Delish! #turkeyburger #turkeyburgers #burger #dairyfreeglutenfree #burgers #healthyfood

These vegan Mexican quinoa bowls have become a weekly staple in our house. They’re naturally vegan, but are full of flavor from the avocado tahini, and spicy chipotle tahini sauce.
Comment ‘vegan bowl’ and I’ll DM you the recipe.
These bowls are also great for those that are on the candida diet.
I ❤️ these bowls because they’re jam packed with plant protein, as quinoa is a complete protein, and beans when paired with the quinoa, make a complete protein too. This bowl is balanced and satisfying from the slow burning carbs, healthy fats, plant protein, and will honestly sustain you for hours.
These bowls are a great weeknight meatless dinner option, as I typically make the sauces ahead of time, (they literally take 5 minutes) so when it comes to dinner time, all I have to do is make the quinoa (takes under 20 minutes) and roast the sweet potatoes. I hope you give these a try, and that they become a go-to meatless dinner.
#candidadiet #candidacleanse #veganbowls #veganbowls #veganrecipes #veganrecipe #vegandinner #vegandinnerideas #healthyfood

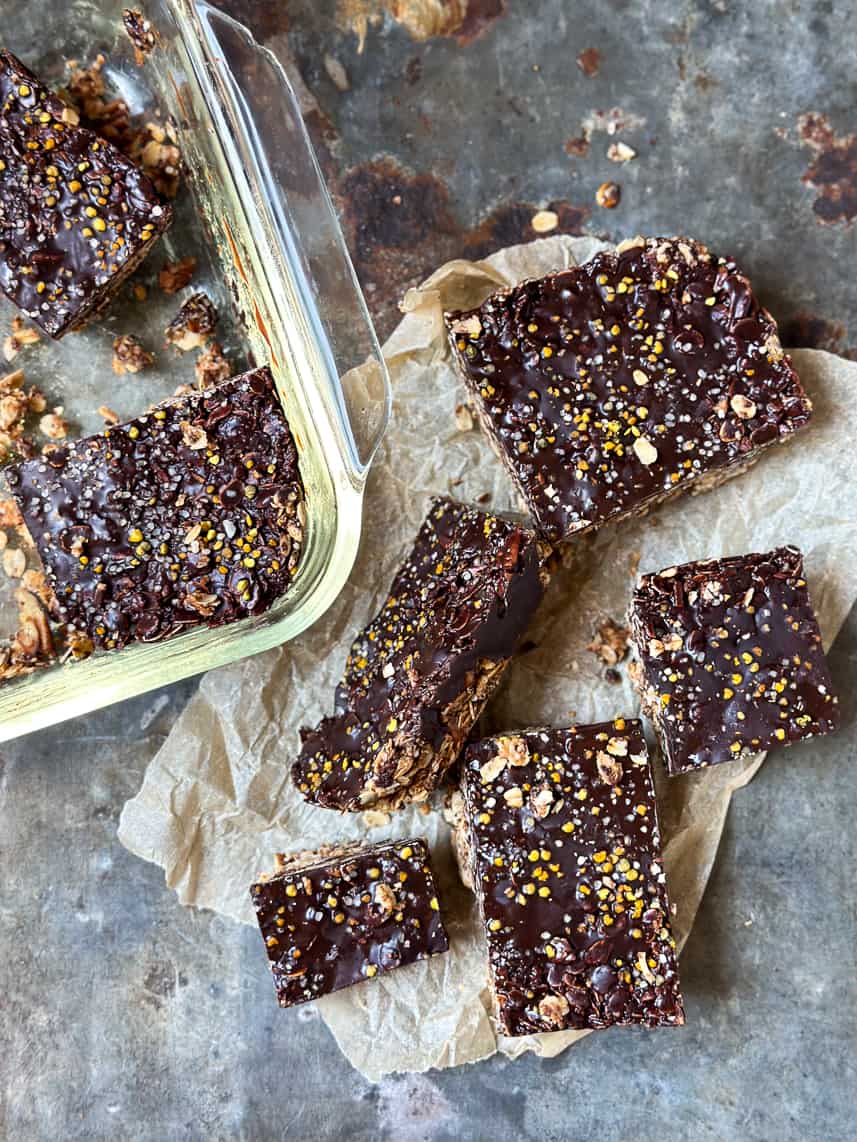
Here’s the perfect snack for those of you trying to cut back on refined sugar. These healthy no bake cacao oat bars are super addicting, once you have a bite, you just can’t stop.
Comment ‘oat bars’ and I’ll DM you the recipe.
The great thing is you don’t have to feel guilty, as these are made with pretty healthy ingredients and are GF, DF and refined sugar free. I love having these on hand for that afternoon, or post lunch craving. They hit the spot perfectly. #healthy #healthysnacks #healthysnackideas #healthysnack #refinedsugarfree #norefinedsugar #healthydesserts #healthydessert #healthydessertrecipes #healthysnackrecipes



How are these dairy free if they need butter?
As I mentioned in the post, they are not entirely dairy free, as I use butter. I just don’t use cows milk. I can personally tolerate a bit of butter. You could always try vegan butter or Ghee. I haven’t personally tried those alternatives in this recipe yet. I’m going to try Ghee next to see if it changes the recipe at all, and will update when I do.
My family LOVES popovers (the original recipe) and I was hesitant on making the dairy free gluten free ones, because I thought that they wouldn’t like them. The whole family tried them and LOVED them. They are more dense than the lighter/fluffier original ones, but just as satisfying. Both my kids liked them and it’s great to have an option that is gluten free given my sensitivities. This has already become a staple in our household.