The Best Gluten Free Baked Chicken Tenders
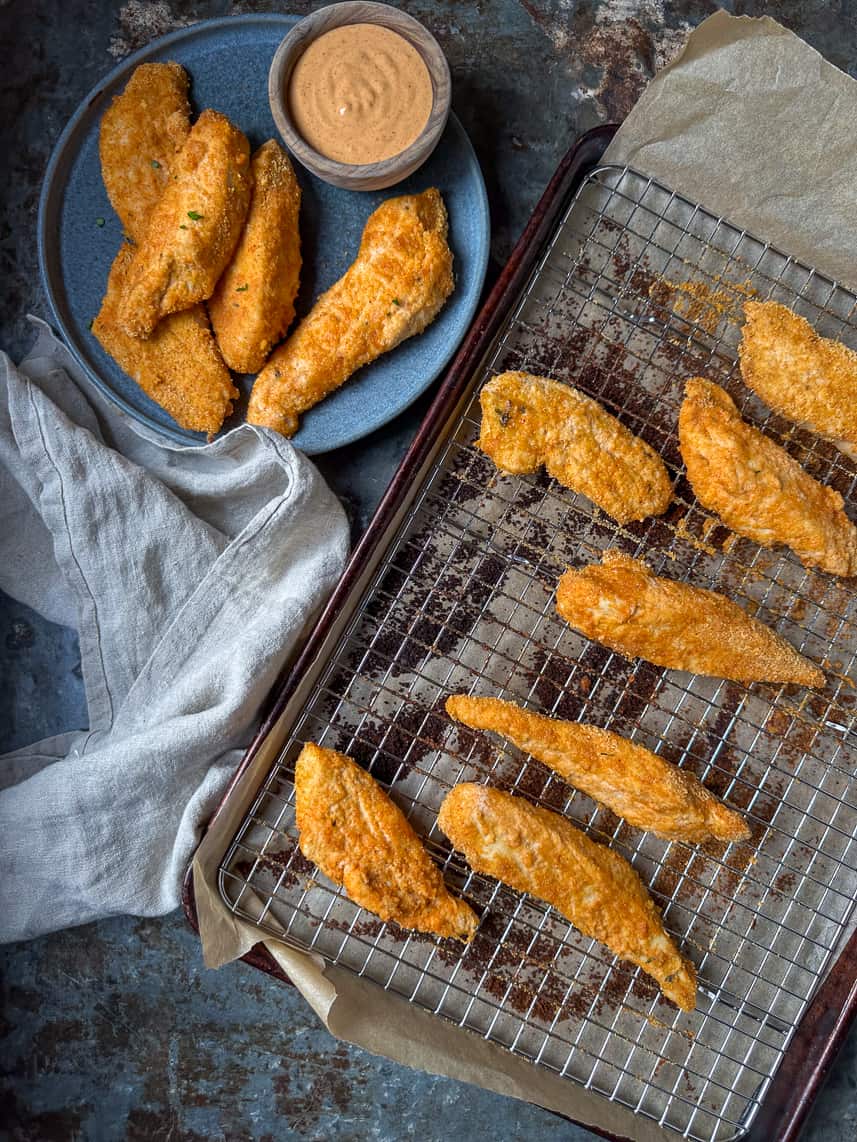
These gluten free baked chicken tenders are one of my family’s favorite chicken recipes, and they get made weekly in my house. I created this recipe because Steve loves chicken tenders, and is a HUGE fan of my oven baked crispy chicken, so I created these on the fly one night, and they were immediately a hit with the family.
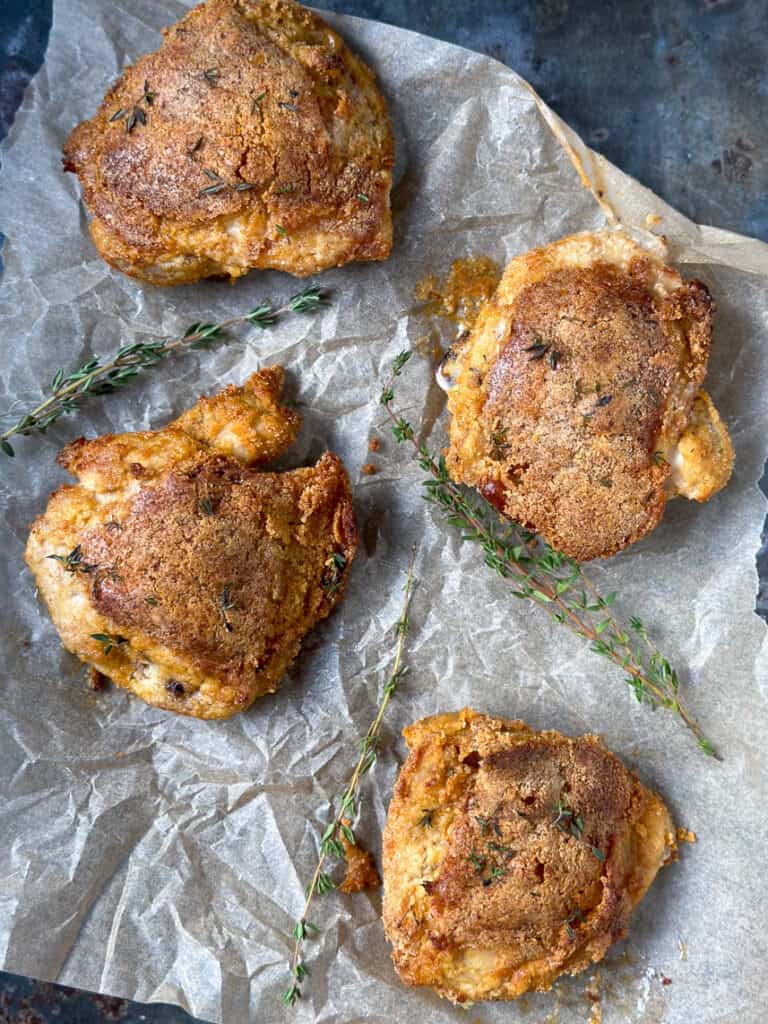
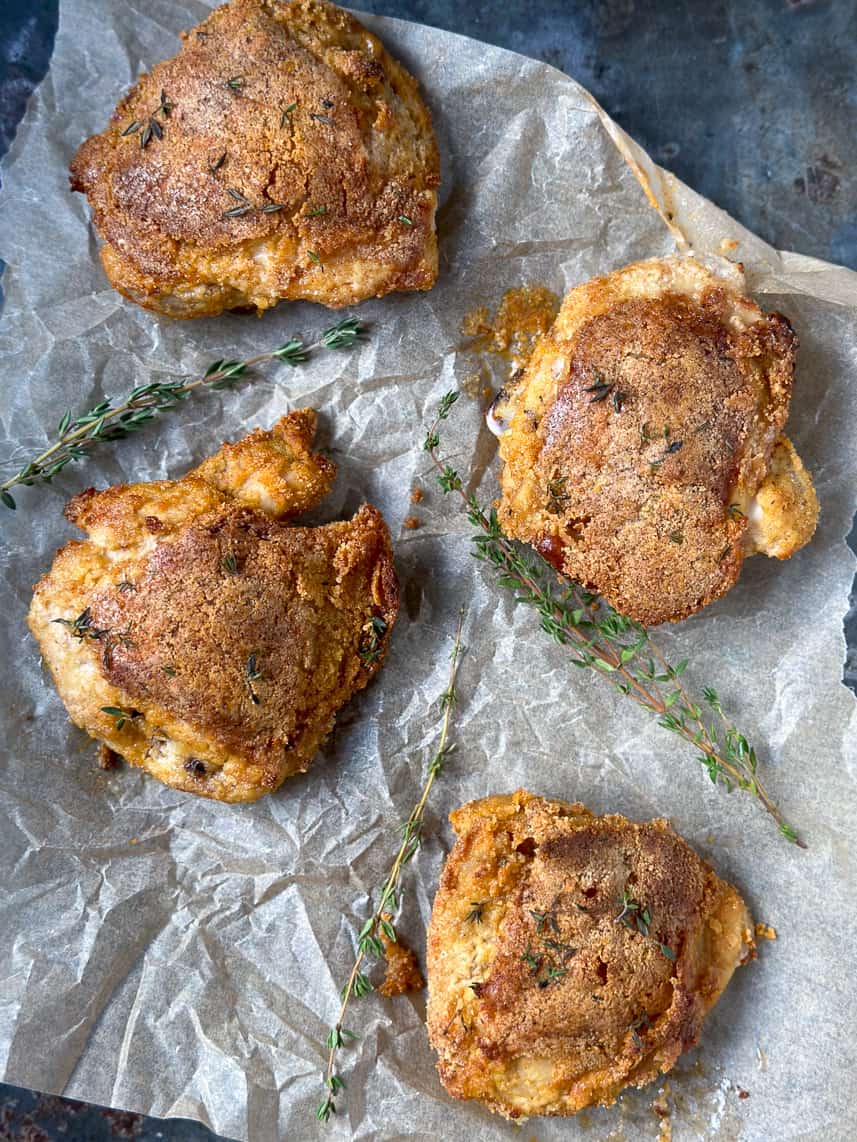
To be honest, I almost didn’t post these chicken tenders because they’re not the traditional chicken tenders that most people are used to. These tenders don’t brown up and get all crispy, but they are super tender from the brining, and packed with flavor from the coating. Also, the fact that my family loves these, and Mattie’s friends at school love the leftover cold chicken tenders, I figured why not just post these.
The coating on this chicken is gluten-free, grain-free and chock-full of healthy ingredients, but you would never know that. The chicken is dredged in almond meal and nutritional yeast, and has a pop of kick of flavor from the cayenne pepper and smoked paprika.
The coating for these bad boys is grain-free, so if you have celiac disease, are gluten-intolerant, or just want to cut back on unrefined grains, then this is the recipe you’ve been looking for.

The Best Gluten Free Baked Chicken Tenders
Equipment: Half sheet pan with oven safe non-stick grid
Note: You have to plan ahead to make this, as the chicken will need 1 hour to brine before baking. The brining only takes 5 minutes to put together and then sits in the fridge for 1 hour. The actually baking time only takes 20 minutes though.
For the brine:
- 2 pounds boneless skinless chicken breasts
- 3 tablespoons Celtic sea salt – Don’t use table salt. Table salt contains iodine, which doesn’t work with brining.
- 1 tablespoon honey – honey adds a depth of flavor
- 1-2 quarts cold water – you want enough water to cover all of the chicken
For the breading:
- 1 cup almond meal flour – if you have a nut allergy, you could use ground flax meal
- 2 teaspoons fine Celtic sea salt
- 1 tablespoon nutritional yeast
- 1 teaspoon chopped fresh thyme leaves
- ½ teaspoon cayenne pepper
- ½ teaspoon smoked paprika
For the chipotle tahini: We love pairing our tenders with this sauce. Directions are in the below recipe box.
- 1/4 cup well stirred tahini – I love this traditional tahini from Soco
- 4 tablespoons fresh lime juice (2 limes)
- 1 teaspoon chipotle chili powder
- 1/2 teaspoon smoked paprika
- 1/4 teaspoon Celtic sea salt
- 1-2 tablespoons filtered water, or more to get it to the consistency you want
How I meal prep these tenders. Say I’m eating dinner at 6:00, I will brine the breasts at 4:00, make the breading while the chicken is brining, pull the chicken out at 5:00, dry, slice and bread the tenders, and then let them sit on the baking sheet until 5:30 and then place them in the oven to bake. These tenders also taste great cold!
Brining the chicken:
Below is a video I created to take the fear away from brining chicken. I also share tips about choosing chicken, and how to prepare it.
In a large (large enough to hold all the water and chicken) stainless steel or glass bowl, (don’t use plastic) whisk together 3 tablespoons sea salt, 1 tablespoon honey and 1-2 quarts cold water to create a brine (the amount of water you need will be based on your bowl and the amount of chicken you have).
Place chicken breasts into the brine, cover, and transfer to the refrigerator. Let the chicken marinate in the refrigerator for 1 hour, no more. Make sure that there is enough water to submerge the chicken, if not, add more water.
Preparing and baking the chicken:
When the chicken is finished brining, preheat your oven to 400 degrees, line a rimmed baking sheet with parchment paper, and then place the baking grid on top.
Take each piece of chicken out of the brining liquid, and pat each piece throughly dry with a paper towel, and place dried chicken on a cutting board. I always have a specific cutting board for chicken, as you don’t want to cross contaminate.
Using a sharp knife, trim off any excess fat, then slice each breast lengthwise into 2-3 strips (approx 1¼-inch-wide strips). If one seems super long, then cut it in half. Each breast is always a different size and shape, so your chicken tenders may not be even in size or shape, and that’s ok. When you brine your chicken it will be moist, so you don’t have to worry about the tapered ends of the chicken strips getting too dry.
In a shallow bowl, gently whisk together the almond meal, sea salt, nutritional yeast, thyme, cayenne pepper and smoked paprika. I usually make the breading mixture up ahead while the chicken is brining.
Dredge the chicken strips one by one in the seasoned breading, making sure to really press the coating onto the chicken strips, until well-coated on all sides. If you find you are running low on the coating, just halve the above recipe to finish the rest. I usually have just enough to coat 2 lbs of chicken, but sometimes I just double batch the almond meal coating just incase.
Arrange the chicken strips on the baking grid, making sure there a bit of space between so you can turn them with the tongs. As you can see, my strips are different shapes and sizes. I’m not about perfection here.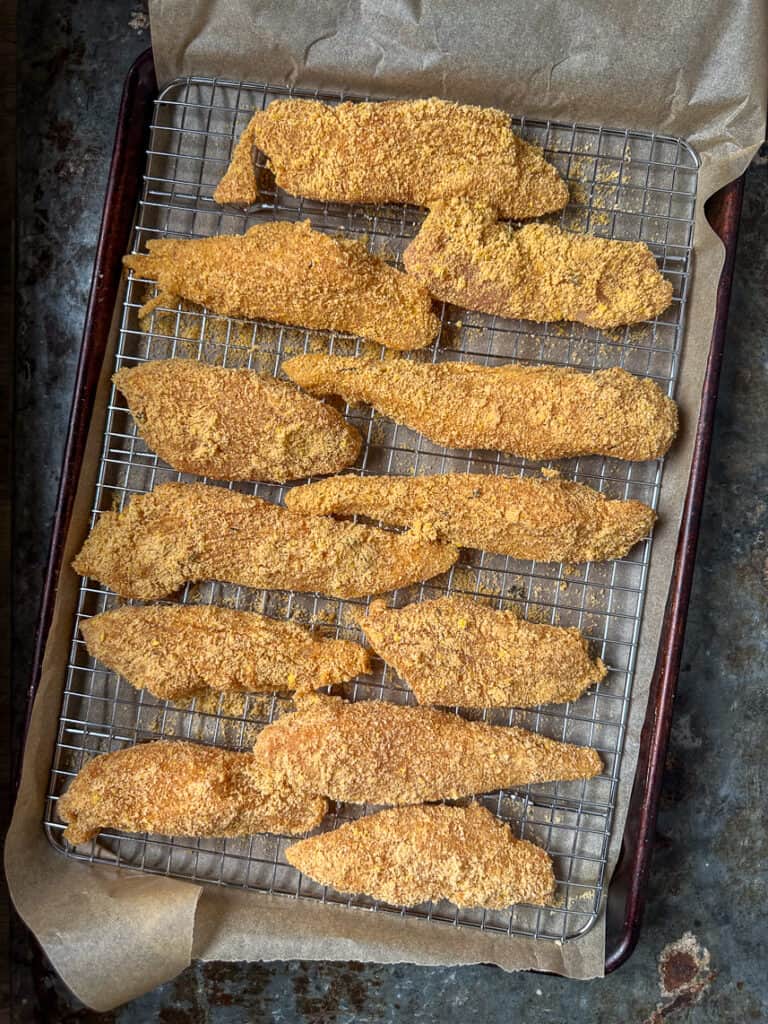
Put the chicken in the pre-heated oven, and bake for 10 minutes, then take the chicken out and using a pair of tongs, gently flip each strip over, and then bake an additional 10 minutes, (check the smaller pieces at 6 minutes) or until the chicken’s internal temperature reaches 165 degrees. Don’t worry if your tenders cook to 170 degrees or a bit above, as brined chicken stays moist.
The coating on these tenders is very delicate, so use tongs with silicone coating and be careful when flipping and handling the tenders.
We love these tenders paired with a salad, like my kid friendly caesar. We make this weekly, to be honest. Also, the below gluten-free, dairy-free popovers are the perfect side carb.
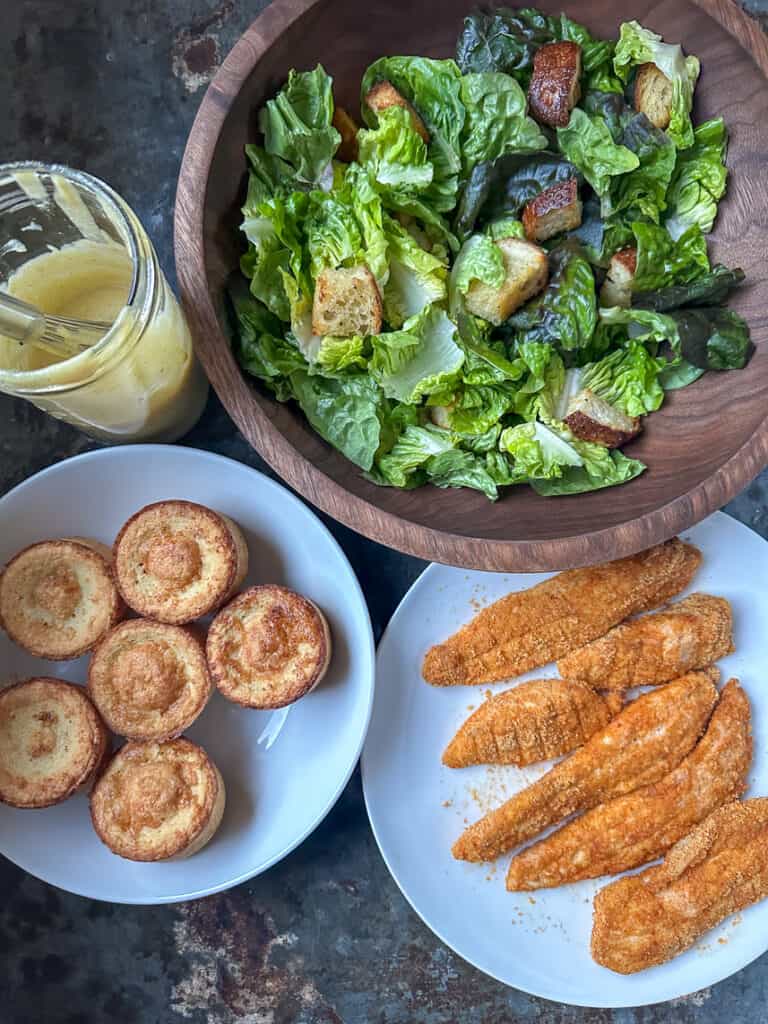
They also taste great dipped in some chicken or my spicy chipotle tahini sauce. These tenders also taste great cold as leftovers. I sometimes just eat one as a snack from the fridge after a workout.

This recipe was adapted from one of our FAVORITE chicken recipes ever. The best oven baked crispy chicken. This chicken gets that crispy skin if that’s what you’re looking for.


The Best Gluten Free Baked Chicken Tenders
10
minutes20
minutes1
hourNote: You have to plan ahead to make this, as the chicken will need 1 hour to brine before baking. The brining only takes 5 minutes to put together and then sits in the fridge for 1 hour. The actually baking time only takes 20 minutes though. The brining is what keeps these tenders juicy and tender.
Ingredients
- For the brine
2 pounds boneless skinless chicken breasts
3 tablespoons Celtic sea salt – Don’t use table salt. Table salt contains iodine, which doesn’t work with brining.
1 tablespoon honey – honey adds a depth of flavor
1-2 quarts cold water – you want enough water to cover all of the chicken
- For the breading
1 cup almond meal flour – if you have a nut allergy, you could use ground flax meal
2 teaspoons fine Celtic sea salt
1 tablespoon nutritional yeast
1 teaspoon chopped fresh thyme leaves
½ teaspoon cayenne pepper
½ teaspoon smoked paprika
- For the chipotle tahini: We love pairing our tenders with this sauce.
1/4 cup well stirred tahini – I love this traditional tahini from Soco
4 tablespoons fresh lime juice (2 limes)
1 teaspoon chipotle chili powder
1/2 teaspoon smoked paprika
1/4 teaspoon Celtic sea salt
1-2 tablespoons filtered water, or more to get it to the consistency you want
Directions
How I meal prep these tenders. Say I'm eating dinner at 6:00, I will brine the breasts at 4:00, make the breading while the chicken is brining, pull the chicken out at 5:00, dry, slice and bread the tenders, and then let them sit on the baking sheet until 5:30 and then place them in the oven to bake. These tenders also taste great cold!
Brining the chicken:
In the above post is a video I created to take the fear away from brining chicken. I also share tips about choosing chicken, and how to prepare it.
In a large (large enough to hold all the water and chicken) stainless steel or glass bowl, (don’t use plastic) whisk together 3 tablespoons sea salt, 1 tablespoon honey and 1-2 quarts cold water to create a brine (the amount of water you need will be based on your bowl and the amount of chicken you have).
Place chicken breasts into the brine, cover, and transfer to the refrigerator. Let the chicken marinate in the refrigerator for 1 hour, no more. Make sure that there is enough water to submerge the chicken, if not, add more water.
Preparing and baking the chicken:
When the chicken is finished brining, preheat your oven to 400 degrees, line a rimmed baking sheet with parchment paper, and then place the baking grid on top. I have a link below to a baking sheet and grid that I use all the time.
Take each piece of chicken out of the brining liquid, and pat each piece throughly dry with a paper towel, and place dried chicken on a cutting board. I always have a specific cutting board for chicken, as you don’t want to cross contaminate.
Using a sharp knife, trim off any excess fat, then slice each breast lengthwise into 2-3 strips (approx 1¼-inch-wide strips). If one seems super long, then cut it in half. Each breast is always a different size and shape, so your chicken tenders may not be even in size or shape, and that’s ok. When you brine your chicken it will be moist, so you don’t have to worry about the tapered ends of the chicken strips getting too dry.
In a shallow bowl, gently whisk together the almond meal, sea salt, nutritional yeast, thyme, cayenne pepper and smoked paprika. I usually make the breading mixture up ahead while the chicken is brining.
Dredge the chicken strips one by one in the seasoned breading, making sure to really press the coating onto the chicken strips, until well-coated on all sides. If you find you are running low on the coating, just halve the above recipe to finish the rest. I usually have just enough to coat 2 lbs of chicken, but sometimes I just double batch the almond meal coating just incase.
Arrange the chicken strips on the baking grid, making sure there a bit of space between so you can turn them with the tongs. As you can see in the above post, my strips are different shapes and sizes. I’m not about perfection here
The coating on these tenders is very delicate, so use tongs with silicone coating and be careful when flipping and handling the tenders.
Put the chicken in the pre-heated oven, and bake for 10 minutes, then take the chicken out and using a pair of tongs, gently flip each strip over, and then bake an additional 10 minutes, (check the smaller pieces at 6 minutes) or until the chicken’s internal temperature reaches 165 degrees. Don’t worry if your tenders cook to 170 degrees or a bit above, as brined chicken stays moist.
We love these tenders paired with a salad, like my kid friendly caesar. We make this weekly, to be honest. Also, the my gluten-free, dairy-free popovers are the perfect side carb. They also taste great dipped in some chicken or my spicy chipotle tahini sauce. These tenders also taste great cold as leftovers. I sometimes just eat one as a snack from the fridge after a workout.
This recipe was adapted from one of our FAVORITE chicken recipes ever. The best oven baked crispy chicken. This chicken gets that crispy skin, if that's what you're looking for.
Spicy Chipotle Tahini Sauce
To a small bowl add the tahini, lime juice, chipotle power, smoked paprika, salt, whisk to combine.
Add water 1 tablespoon at a time until you've reached the desired consistency. I loved the consistency of the sauce with 2 tablespoons.
This sauce can be stored in a well sealed container in the refrigerator for up to 7 days. You can also use this sauce as a dip, top it on tacos or your favorite burger, you name it. It's delish!
Equipment
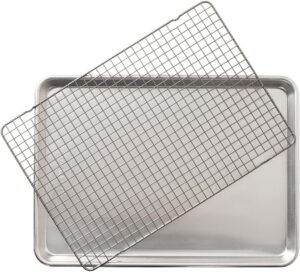 Equipment: Half sheet pan with oven safe non-stick gridBuy Now
Tips
- The coating on these tenders is very delicate, so use tongs with silicone coating and be careful when flipping and handling the tenders.
- It's best to bake these chickens on a grid as the air helps to keep them from getting soggy as they cook. When I cooked them directly on parchment one time, they got a bit soggier.
- Also, broiling these does not brown them up. There is not fat on these tenders, so the coating doesn't crisp up because there's no skin to add that fat. Also, I've tried dipping the tenders in egg before the almond meal breading, and it didn't add any value, and was an extra pain, so I took that step out.
- To be honest, I almost didn't post these chicken tenders because they're not the traditional chicken tenders that most people are used to. These tenders don't brown up and get all crispy, but they are super tender from the brining, and packed with flavor from the coating. Also, the fact that my family loves these, and Mattie's friends at school love the leftover cold chicken tenders, I figured why not just post these.
- How I meal prep these. Say I'm eating dinner at 6:00, I will brine the breasts at 4:00, make the breading while the chicken is brining, pull the chicken out at 5:00, dry, slice and bread the tenders, and then let them sit on the baking sheet until 5:30 and then place them in the oven to bake. These tenders also taste great cold!
Did you make this recipe?
Tag @marinmamacooks on Instagram and hashtag it #MarinMamaCooks
Like this recipe?
Follow us @marinmama on Pinterest
Did you make this recipe?
Follow us on Facebook
Nourish your inbox!
Hi, I'm Jackie!
Dairy free green goddess dressing. This is my dairy free, vegan take on a green goddess dressing. I wanted to create a tasty dairy free version, while focusing on keeping the ingredients ultra clean, so I used a coconut based yogurt @cocojune_organic that doesn’t contain gums, or other ingredients you can’t pronounce.
Comment “green” and I’ll DM you the recipe link.
The result, we love this dressing and have been making it on repeat. I love how creamy and vibrant this dressing is and how it coats each piece of lettuce. I also love how interchangeable the herbs are. You can truly use what you have on hand.
This dressing isn’t just for salads, you can use as a dip for veggies, sweet potato fries, or drizzle over grilled or roasted chicken. The possibilities are endless. 💕
#greengoddessdressing #greengoddesssalad #greengoddess #healthyfood #saladdressing #dairyfreesalad #dairyfreerecipes #vegandressing #vegansalad #salad #healthysalad #healthysalads

I want to share with you guys a simple lesson about reading ingredients. Here’s my favorite brand of coconut milk, Native Forest. As you can see, they have 2 kinds of the full fat unsweetened coconut milk, one is called simple, and one is classic. The difference here is in the ingredients, one contains guar gum and one doesn’t.
You really want to look at the labels and the ingredients, and not just trust the brand is the same across all products.
I love this Native Forest, Simple, because again it clearly states no quars, and if you look in the ingredients, you’ll see organic coconut milk, organic coconut, filtered water. Simple whole food ingredients, no added fillers, gums, or flavors. You always want to look for a BPA free cans and the USDA organic stamp, which means its certified organic, so there’s no GMO’s, pesticides etc.
What is guar gum, and why is it bad?
Guar gum, which is derived from the guar bean is a thickening agent that can wreak havoc on your digestive system by causing bloating, gas, and discomfort. It can disrupt the delicate balance of your gut microbiome, leading to inflammation and impaired nutrient absorption. It’s also seen a lot in non-dairy creamers or milks.
Was this helpful? If so, let me know in the comments below, 👇 as well as what else you would like to see, or know more about?
#readlabels #readfoodlabels #guargum #guthealth #guthealing #inflammationrelief #antiimflammatory

Easy buckwheat porridge. If you’re looking to switch up your morning bowl of oats, then give buckwheat a try. It has a chewy texture and mild flavor, that pairs with just about anything.
Comment ‘easy buckwheat’ and I’ll send you the recipe.
This buckwheat porridge is SO EASY to make, and is naturally gluten-free, dairy-free, and vegan to boot, and the bonus is it takes under 15 minutes to whip up in the morning.
This breakfast is hubby approved. Steve tried this the other day and kept saying, “this is the best breakfast,” “man, this is SO good.” So if I can get my mountain biking, carb loving hubby to happily eat of bowl of this, then I think your family might love this too.
I love topping mine with blueberries, @socotahini and bee pollen!
#buckwheat #buckwheatporridge #buckwheatrecipes #porridgebowl #porridge #porridgelover #breakfastideas #breakfast #healthybreakfast #healthybreakfastclub #healthybreakfastideas

Rosemary & thyme turkey burgers. These are not your typical dry turkey burgers. The rosemary and thyme paired with the sautéed red onion give these burgers a pop of flavor, and the Dijon and avocado oil pump up the moisture. These burgers are also gluten-free and dairy-free.
Comment ‘turkey burger’ and I’ll DM you the recipe link.
I love topping these burgers on a big green salad and pairing them with my oven roasted sweet potato fries. Delish! #turkeyburger #turkeyburgers #burger #dairyfreeglutenfree #burgers #healthyfood

These vegan Mexican quinoa bowls have become a weekly staple in our house. They’re naturally vegan, but are full of flavor from the avocado tahini, and spicy chipotle tahini sauce.
Comment ‘vegan bowl’ and I’ll DM you the recipe.
These bowls are also great for those that are on the candida diet.
I ❤️ these bowls because they’re jam packed with plant protein, as quinoa is a complete protein, and beans when paired with the quinoa, make a complete protein too. This bowl is balanced and satisfying from the slow burning carbs, healthy fats, plant protein, and will honestly sustain you for hours.
These bowls are a great weeknight meatless dinner option, as I typically make the sauces ahead of time, (they literally take 5 minutes) so when it comes to dinner time, all I have to do is make the quinoa (takes under 20 minutes) and roast the sweet potatoes. I hope you give these a try, and that they become a go-to meatless dinner.
#candidadiet #candidacleanse #veganbowls #veganbowls #veganrecipes #veganrecipe #vegandinner #vegandinnerideas #healthyfood

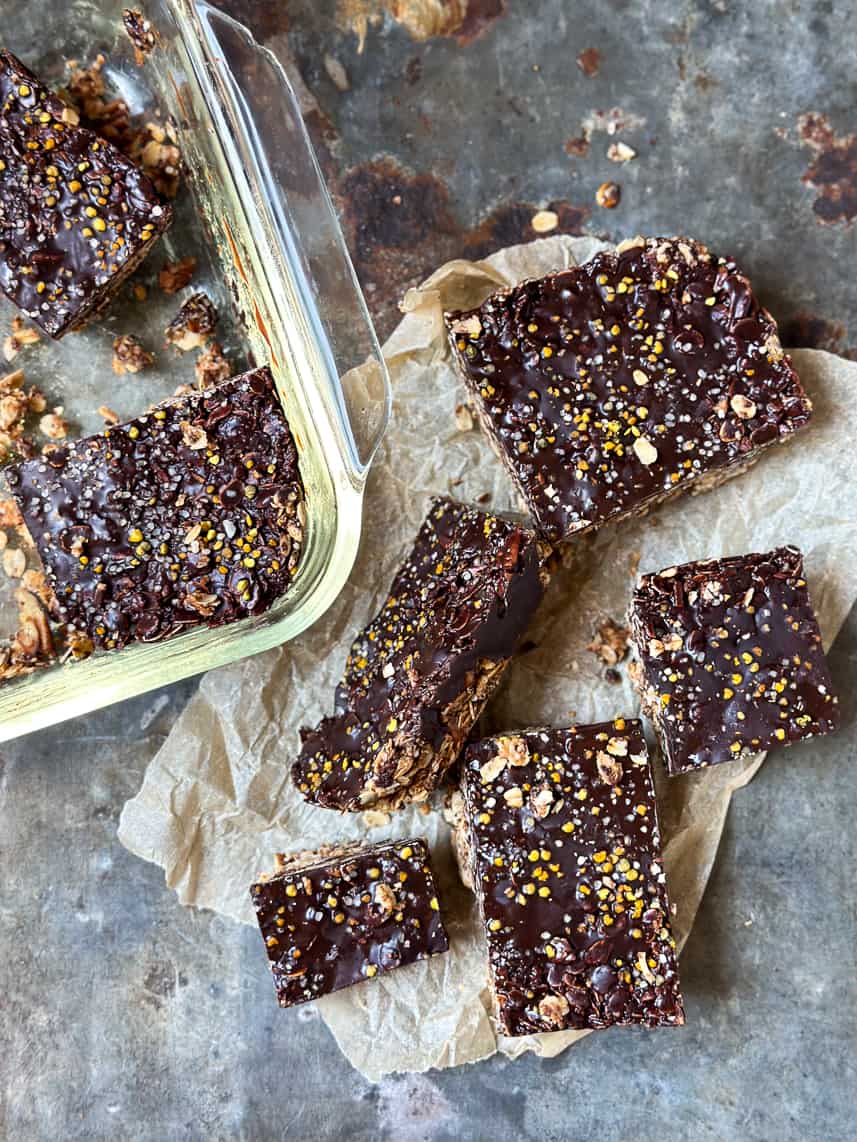
Here’s the perfect snack for those of you trying to cut back on refined sugar. These healthy no bake cacao oat bars are super addicting, once you have a bite, you just can’t stop.
Comment ‘oat bars’ and I’ll DM you the recipe.
The great thing is you don’t have to feel guilty, as these are made with pretty healthy ingredients and are GF, DF and refined sugar free. I love having these on hand for that afternoon, or post lunch craving. They hit the spot perfectly. #healthy #healthysnacks #healthysnackideas #healthysnack #refinedsugarfree #norefinedsugar #healthydesserts #healthydessert #healthydessertrecipes #healthysnackrecipes


